Hello fine folks, I know I have been missing from my blog for quite some time. The life of a restaurant chef is truly enveloping as it is delicious. But, I do plan on bringing this blog back to life this summer. Please, keep checking back in. Also, while you’re here notice that I’ve added a recipes section to this site. I’ll be soon adding more recipes soon. Much love, Christian.
Hoshigaki Part 2
They're ready.
It's been a few months since I first hung the persimmons and about 6 weeks ago I started enjoying them. Almost every weekend I have them with toast, butter, oatmeal, whatever I can add them to. They really are persimmons no more. They've taken on a whole new look. Dark and dense. They're own powdery sweet sugars coat them perfectly from drying in the sun.
San Francisco weather is too wet to hang them outside. Fog, rain mess up the drying process. So soon after first hanging them I brought them inside. It was 2 days that had passed when I hung them in my west facing kitchen window. They still get all the sun without the weather issues
Also, alcohol helped with mold. I didn't tell you, but in my last post that I a few persimmons fell while i tried to hang them up. There was some bruising and pulp exposure. I decided to rinse them in bowl of vodka. Then I hung them up making sure that wouldn't fall again. No mold grew.
Massaging them on the regular helped too. It helps keep them drying evenly throughout the fruit. Here's some photo's of the finished product.
Beet Gratin
This beet gratin begins with familiar ingredients but it makes a complex dish that will satisfy any gourmand. The beet and potato in this recipe offer a earthy, sweet tone that's complimented well with the richness of the cheese, butter, and milk. The gratin's color is also atypical. It's a bright red that leaches into the potato and cream, making a dish that is as striking to look at as delicious as it is to eat.
When I make this dish it's difficult to want to serve it with anything else than greens. Either a lightly dressed mix of greens or blanched kale with lemon, pepper, and olive oil works. Serving this gratin can be done soon after it's done cooking in the oven or after it's cooled a couple hours. The latter will allow you to cut almost perfect squares where you can see the layering work you've done. Just reheat in the oven. You can also serve this gratin cold as well. It's the dense layering of beet that allows it to stand up well chilled. In a hurried moment i've sliced a cold piece of this gratin and taken it on the go, kind of like a power bar. For this recipe you'll need:
- 4 large red beets
- 3 medium russet potatoes
- 3 sprigs of thyme, 2 sprigs of marjoram
- 3 T unsalted butter
- 3 T all purpose flour
- 3 c milk
- 1 T kosher salt
- 3/4 cup grated gruyere
First peel and thinly slice the beets and potatoes. Use a mandolin if you have one and place the slices in a bowl. Once your done slicing grab your medium sized baking dish and set everything aside.
Next melt the butter in a saucepan. Stir in the flour and cook the mixture for just under a minute - known as a roux. Stir in milk, a little at a time, making sure to stir well so that no lumps form. Bring the mixture to the boil, stirring constantly, so that the mixture thickens and becomes saucy. Turn off from heat and set aside.
Grab your beets, potatoes, white sauce, and baking dish and start layering 2-3 layers of beet to 1 layer of potato while ladling your white sauce so that its spread evenly across every 3-4 layers. Do not add your cheese and herbs yet.
Now it's time to bake your gratin. Bake for 20 minutes at 350 degrees. While that's in the oven you can grate the gruyere and set aside. Also pick your herbs and set aside.
Take your gratin out of the oven at this point and turn the oven up to 400 degrees. While the oven is heating up, top off the gratin with the gruyere and herbs. Then bake for another 10-15 or place under broiler for 5-10 minutes until cheese in melted and started to golden. Take it out and enjoy!
Hoshigaki Persimmons Part 1
In the first part of this series. I'll be showing you how I started off my journey making Hoshigaki Persimmons. Hoshi means dried and gaki is from kaki, the Japanese word for persimmon. They're persimmons that are dried the long way. No involvement of a dehydrator which will make them just dry and tough. The hoshigaki method involves using the hachiya variety (acorn-shaped) of persimmons dried the traditional Japanese way—in the sun or if you live in a foggy city like San Francisco, in your home. The persimmons are also gently massaged by hand once every few days to break up the inside pulp, smooth the outside and to encourage the fruit's sugars to migrate to the surface in a "delicate white bloom." In the end they're supposed to end up looking like a softer dried fruit that's frosted in powdered sugar. The taste intense. With concentrated persimmon flavor, honeyed overtones and perhaps the barest hint of cinnamon. However, It's definitely the texture that gets even more interesting. Hoshigaki are supposed to be chewy and have almost jelly-like insides. Tender and succulent. The whole process takes several weeks. Starting now is perfect if you want to have them ready for the holidays.
I bought 9 persimmons at my Sunday farmers market. I made sure they had enough stem left on the fruit so I could tie them up and hang them by that stem. Some recipes call for a perfect t-shape stem but I didn't find this necessary. Next, I peeled off all the skin. Leaving no trace of it. Also, some recipes call for sanitizing your fruit in a neutral flavored liquor like vodka. I didn't do this. I might for my next batch in Part 2.
Next I gathered up some kitchen twine for hanging the fruit. I found in my pantry and made sure to cut the string in equal lengths. The equal lengths in the string will allow me to easily separate my batches by length of string in the future.
Tie up the persimmons tight and find a place you want to hang them. Some good spots are outside in direct sun, inside in front of a sun facing window, or another cool dry room. For this batch I started them outside but eventually moved them inside by kitchen window. The fog was just too heavy and left the persimmons wet after the first night out on their own.
Once you hang them they look like cute little lanterns. That doesn't last long though. I'm about a week into the process now and they've lost all that cuteness. They're starting to dry out and darken. I've also massaged them twice since hanging. Look out for Part 2 where i'll start a second batch and post photographs of the process for Batch 1.
Farfalle gives me butterflies
Farfalle. Italy's cute and fun shaped pasta. They look like bow ties. They also look like butterflies which is what they translate to in english. Making farfalle with fresh pasta dough may seem like a lot of work. Not something you can make on the whim. However, I'm here to prove that theory wrong. You can make fresh pasta and have it on your plate ready to eat in under an hour. That may seem quick but here's a guide to how you can manage it:
First, you need three ingredients: All purpose flour, semolina, and egg yolk. Yes, you can make fresh pasta dough with variations on these ingredients but I have found these to be the best. The semolina gives the dough tructure and the use of just egg yolks gives it rich taste and golden hew.
Next you want mix the flour and semolina. Then slowly add the egg yolk. You want to end up with a dough that is coming together but is not too moist or sicky. This will make it impossible to work with. Your dough should look like something below and should take you about 10 minutes.
Once you've got your dough, let it rest for another 10 minutes. In that time get some heating water on the stove top for eventually cooking it. You can also gather any ingredients you might need for a sauce. Simple is usually best. Try olive oil, tomatoes, parsley, scallions, and cheese.
Now, once the dough has rested it's time to start rolling out the dough into sheets of pasta. This is going to be the hardest part if you've never done this before. But it's ok, don't be afraid and just take charge. You first want to shape it so that it will fit through your pasta rolling machine on setting 0. This is the widest setting and will make your dough come out like the photo below. Go through 0 a few times until you get the hang of it and it starts forming into a recognizable sheet of pasta. Eventually work all the way to setting 7 where the sheets are thin enough for farfalle. Along the way you should cut the sheet into smaller sheets that you find manageable to work. It should take you about 15 minutes to get to setting 7.
Below the pasta sheet is on setting 4
This is setting 7. Once you're going to want to lay your sheets on a surface with rice flour. This prevents the sheets from sticking to the surface.
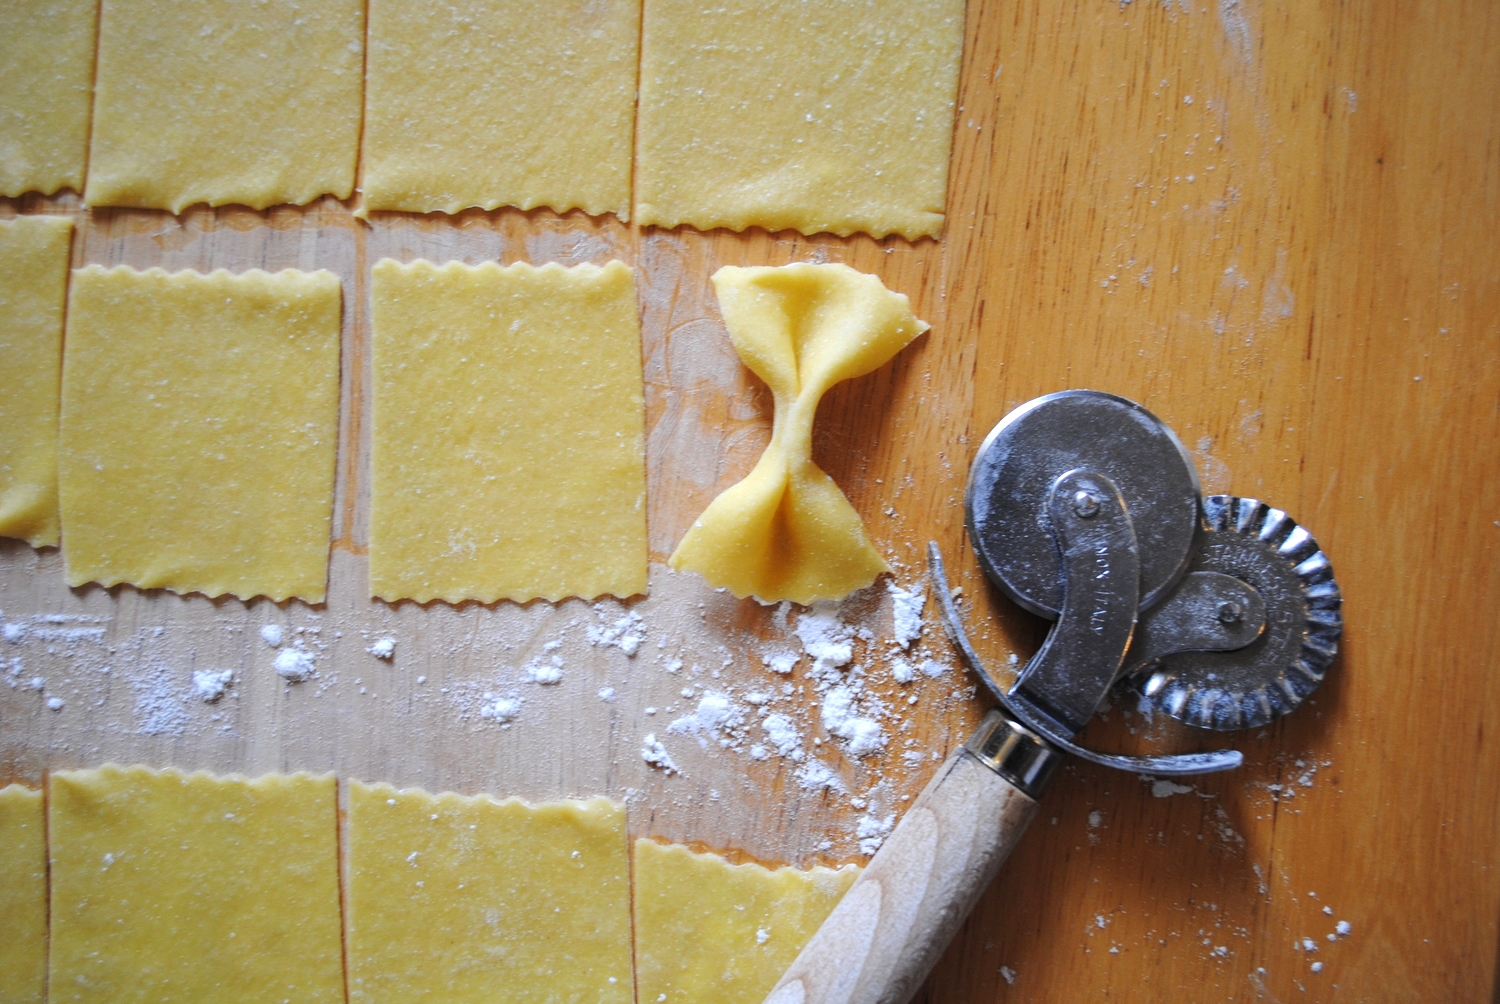
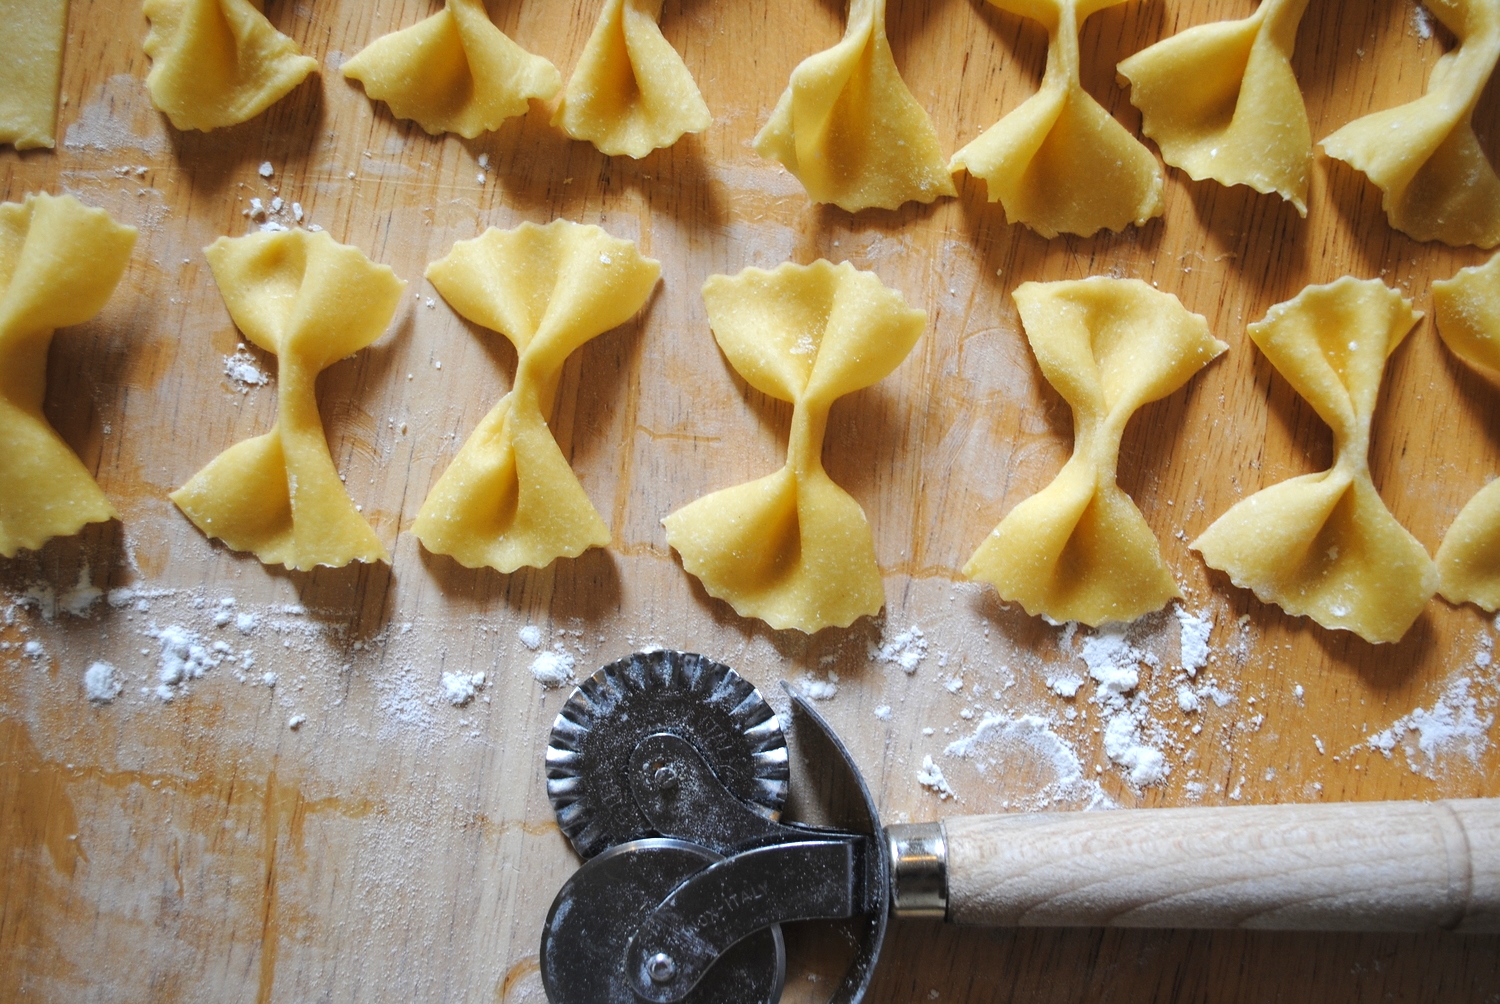
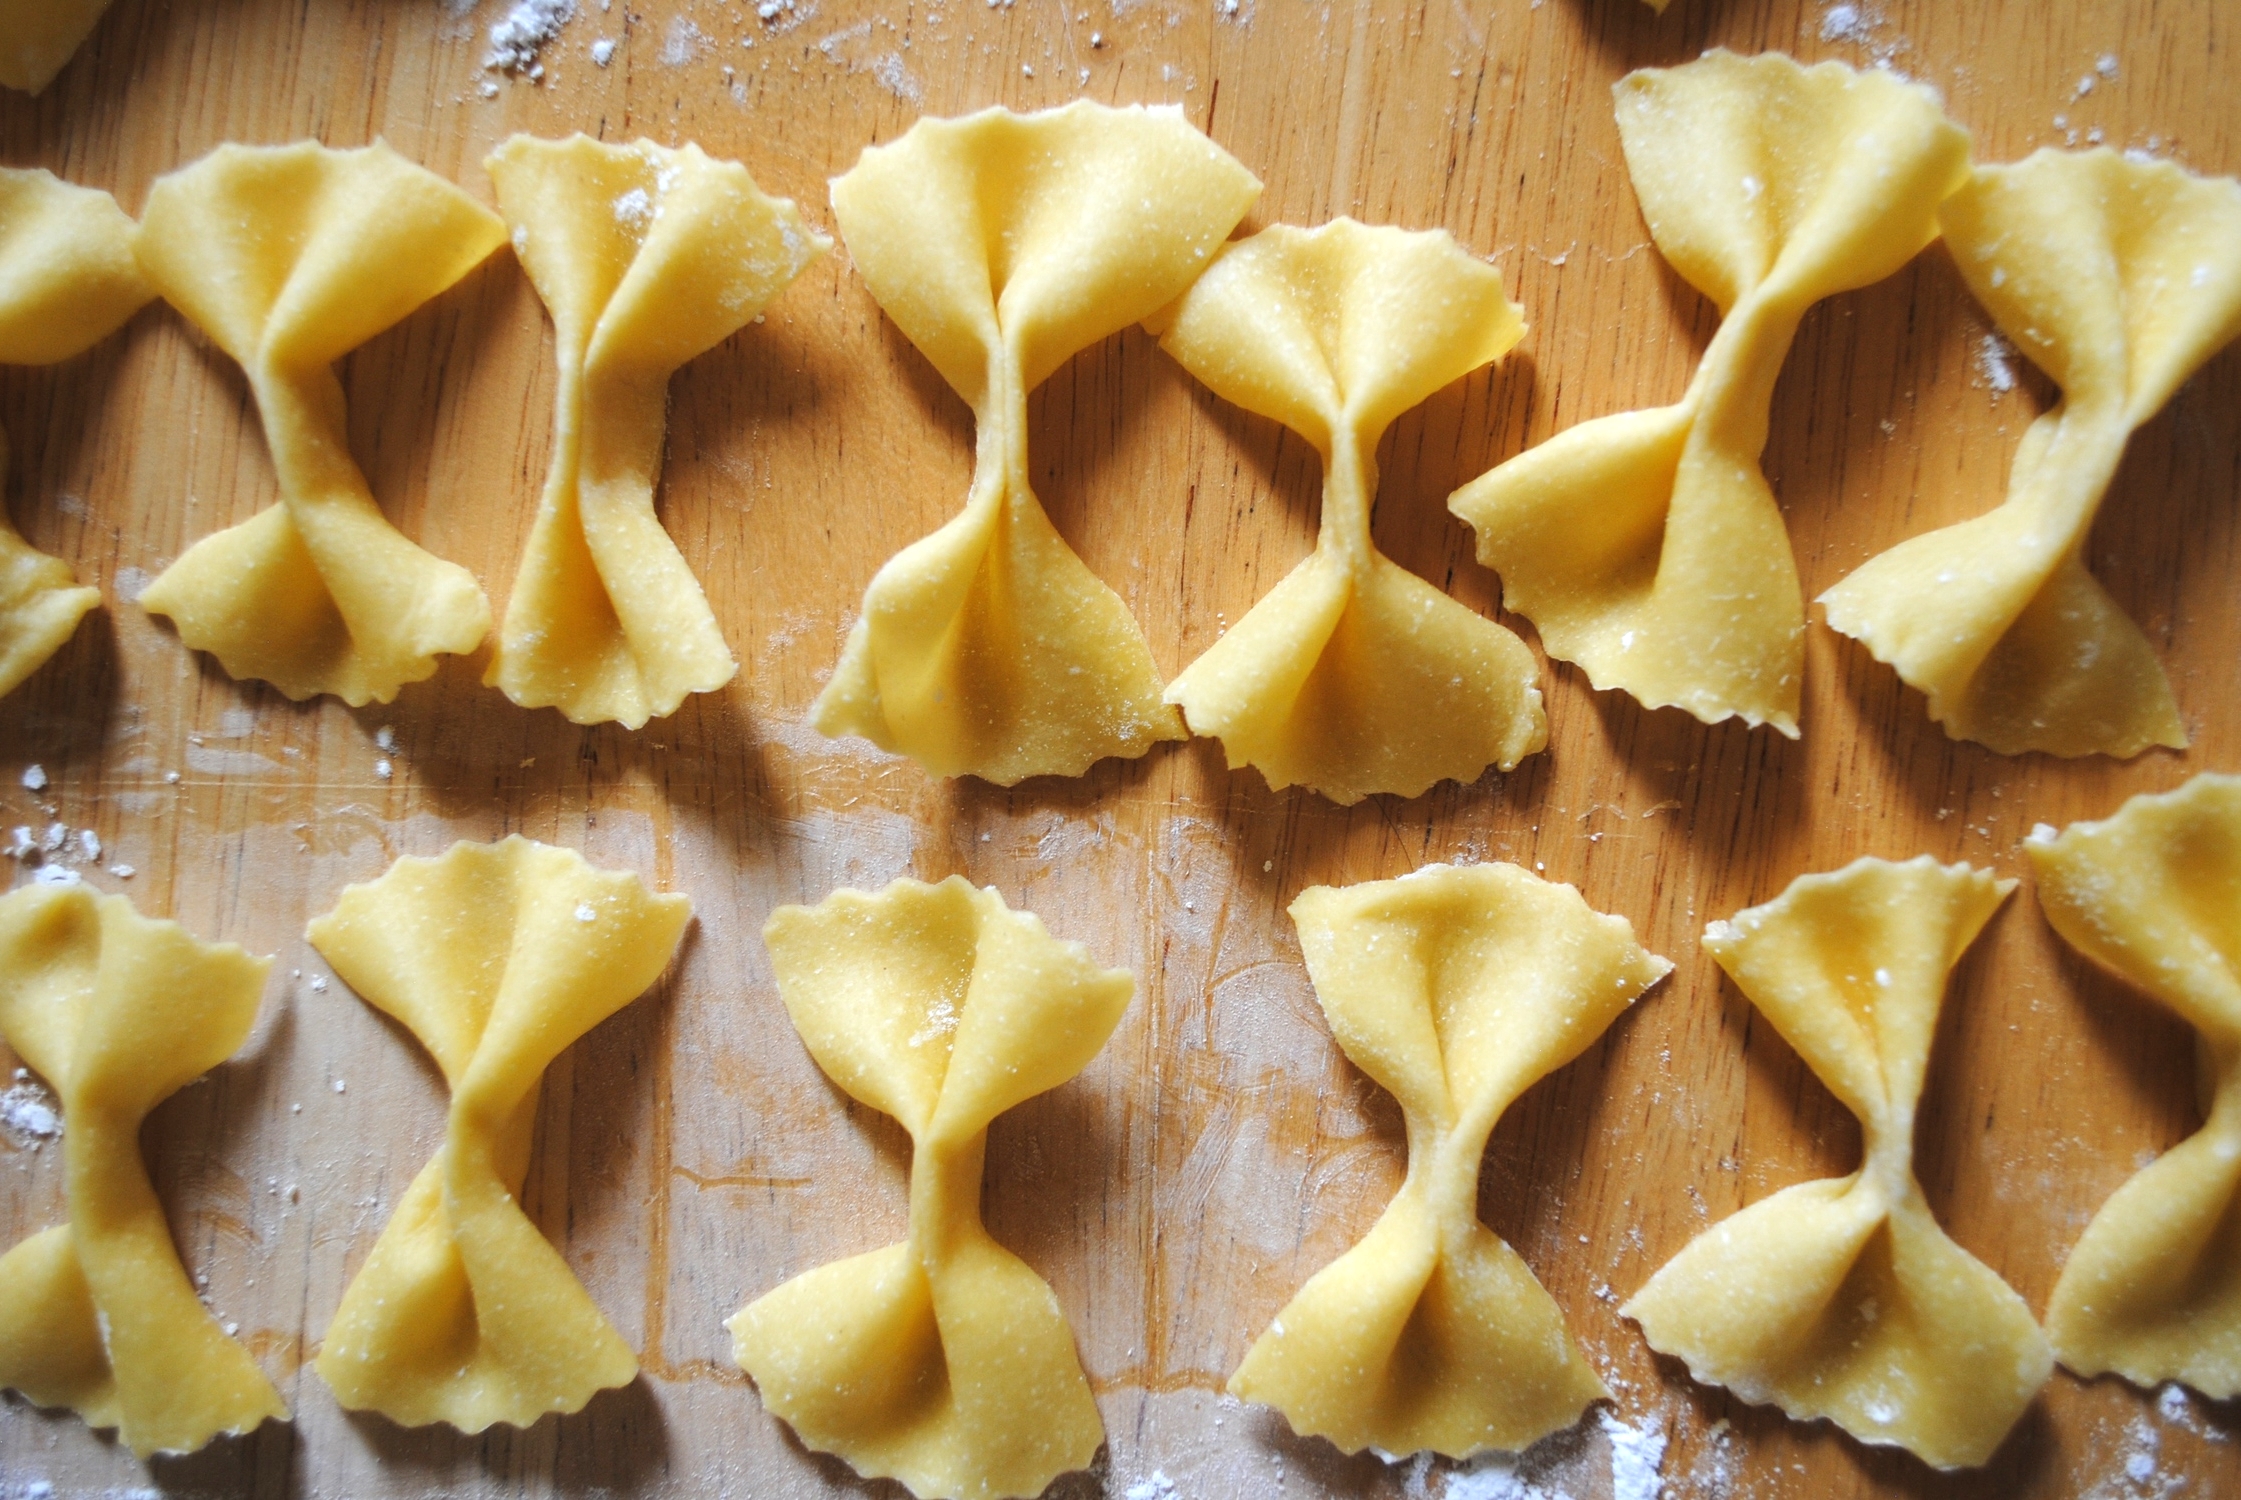
Now we get to shape and cut our dough into farfalle. You want to cut the sheets of pasta into rectangles. They can be as little or as big as you want them to be. Take one pasta rectangle and place your index (first) finger in the centre. Use your thumb and second finger to pull the top and bottom edges together, then slip your index finger away at the last second and squidge these edges together so that they stick. For a 1/2 pound of pasta this will take about 15 min. Now all you have to do is cook the farfalle. Throw them in batches into your salted pot of water and cook for about 1 minute. When they're all ready serve them with your sauce and you're ready. Fresh farfalle in under an hour. You did it!
Ingredients for 2-3 servings of farfalle:
5 ounces All purpose flour, 3 ounces Semolina, 2-3 Egg yolks
Farfalle with black prince tomato, parsley, shallots, black pepper
Hana Ranch Farm in Hawaii
The main road in Hana
Touring the farm
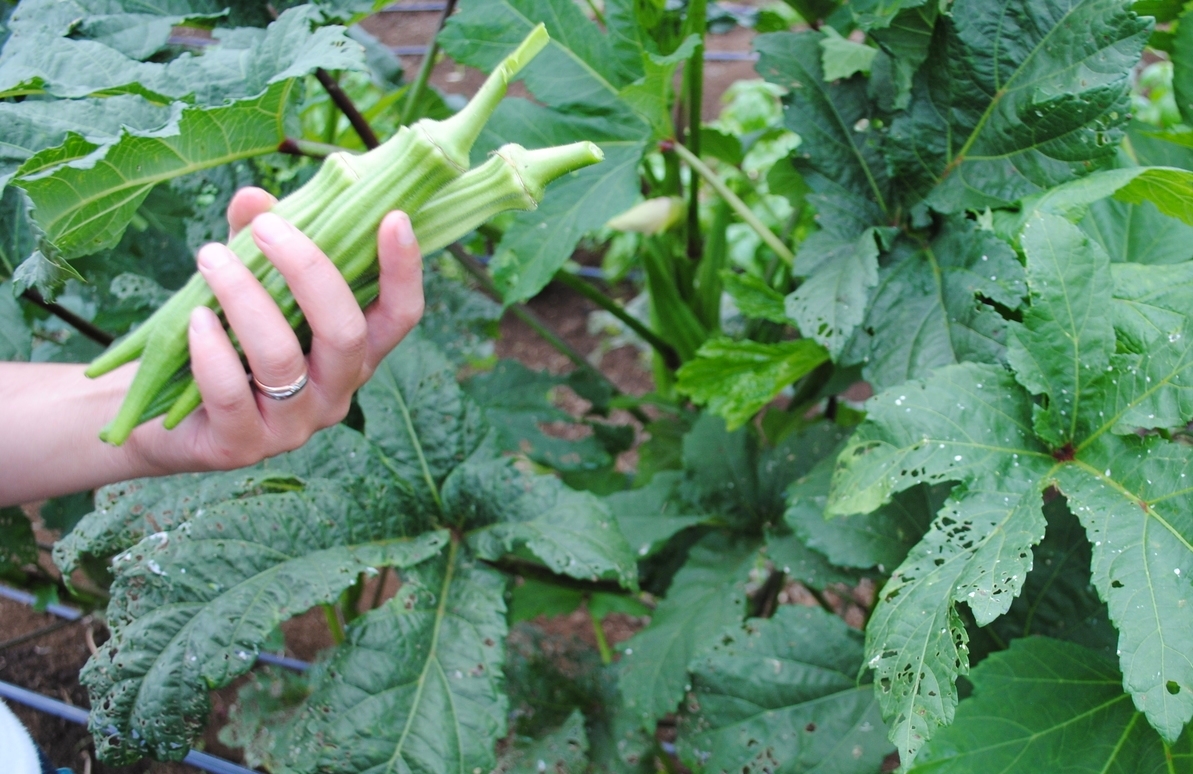
Our friends Morgan and Linh gave gave my boyfriend John and friends Anna and Angel a tour of Hana Ranch this summer. One of the largest private pieces of land on the island. Stretching from the coast to all the way to the top of the nearby mountain Haleakela. It's a magical place. Beautiful and is so lush there's green vegetation as far as you can see. Hana Ranch is first in the cattle business but now they're farming. Hoping to grow produce year-round and change the local community's dependance on out of state produce. They were testing out all kinds of vegetables and fruits while we were there. Okra, tomatoes, greens, onions, and so on. Most of the produce looked as good or better than what we have here in the Bay Area. To learn more about Hana Ranch Farm check out there we site or Facebook page: www.facebook.com/hanaranch
the cattle
Angel
Tailgate San Francisco: Pacific Heights
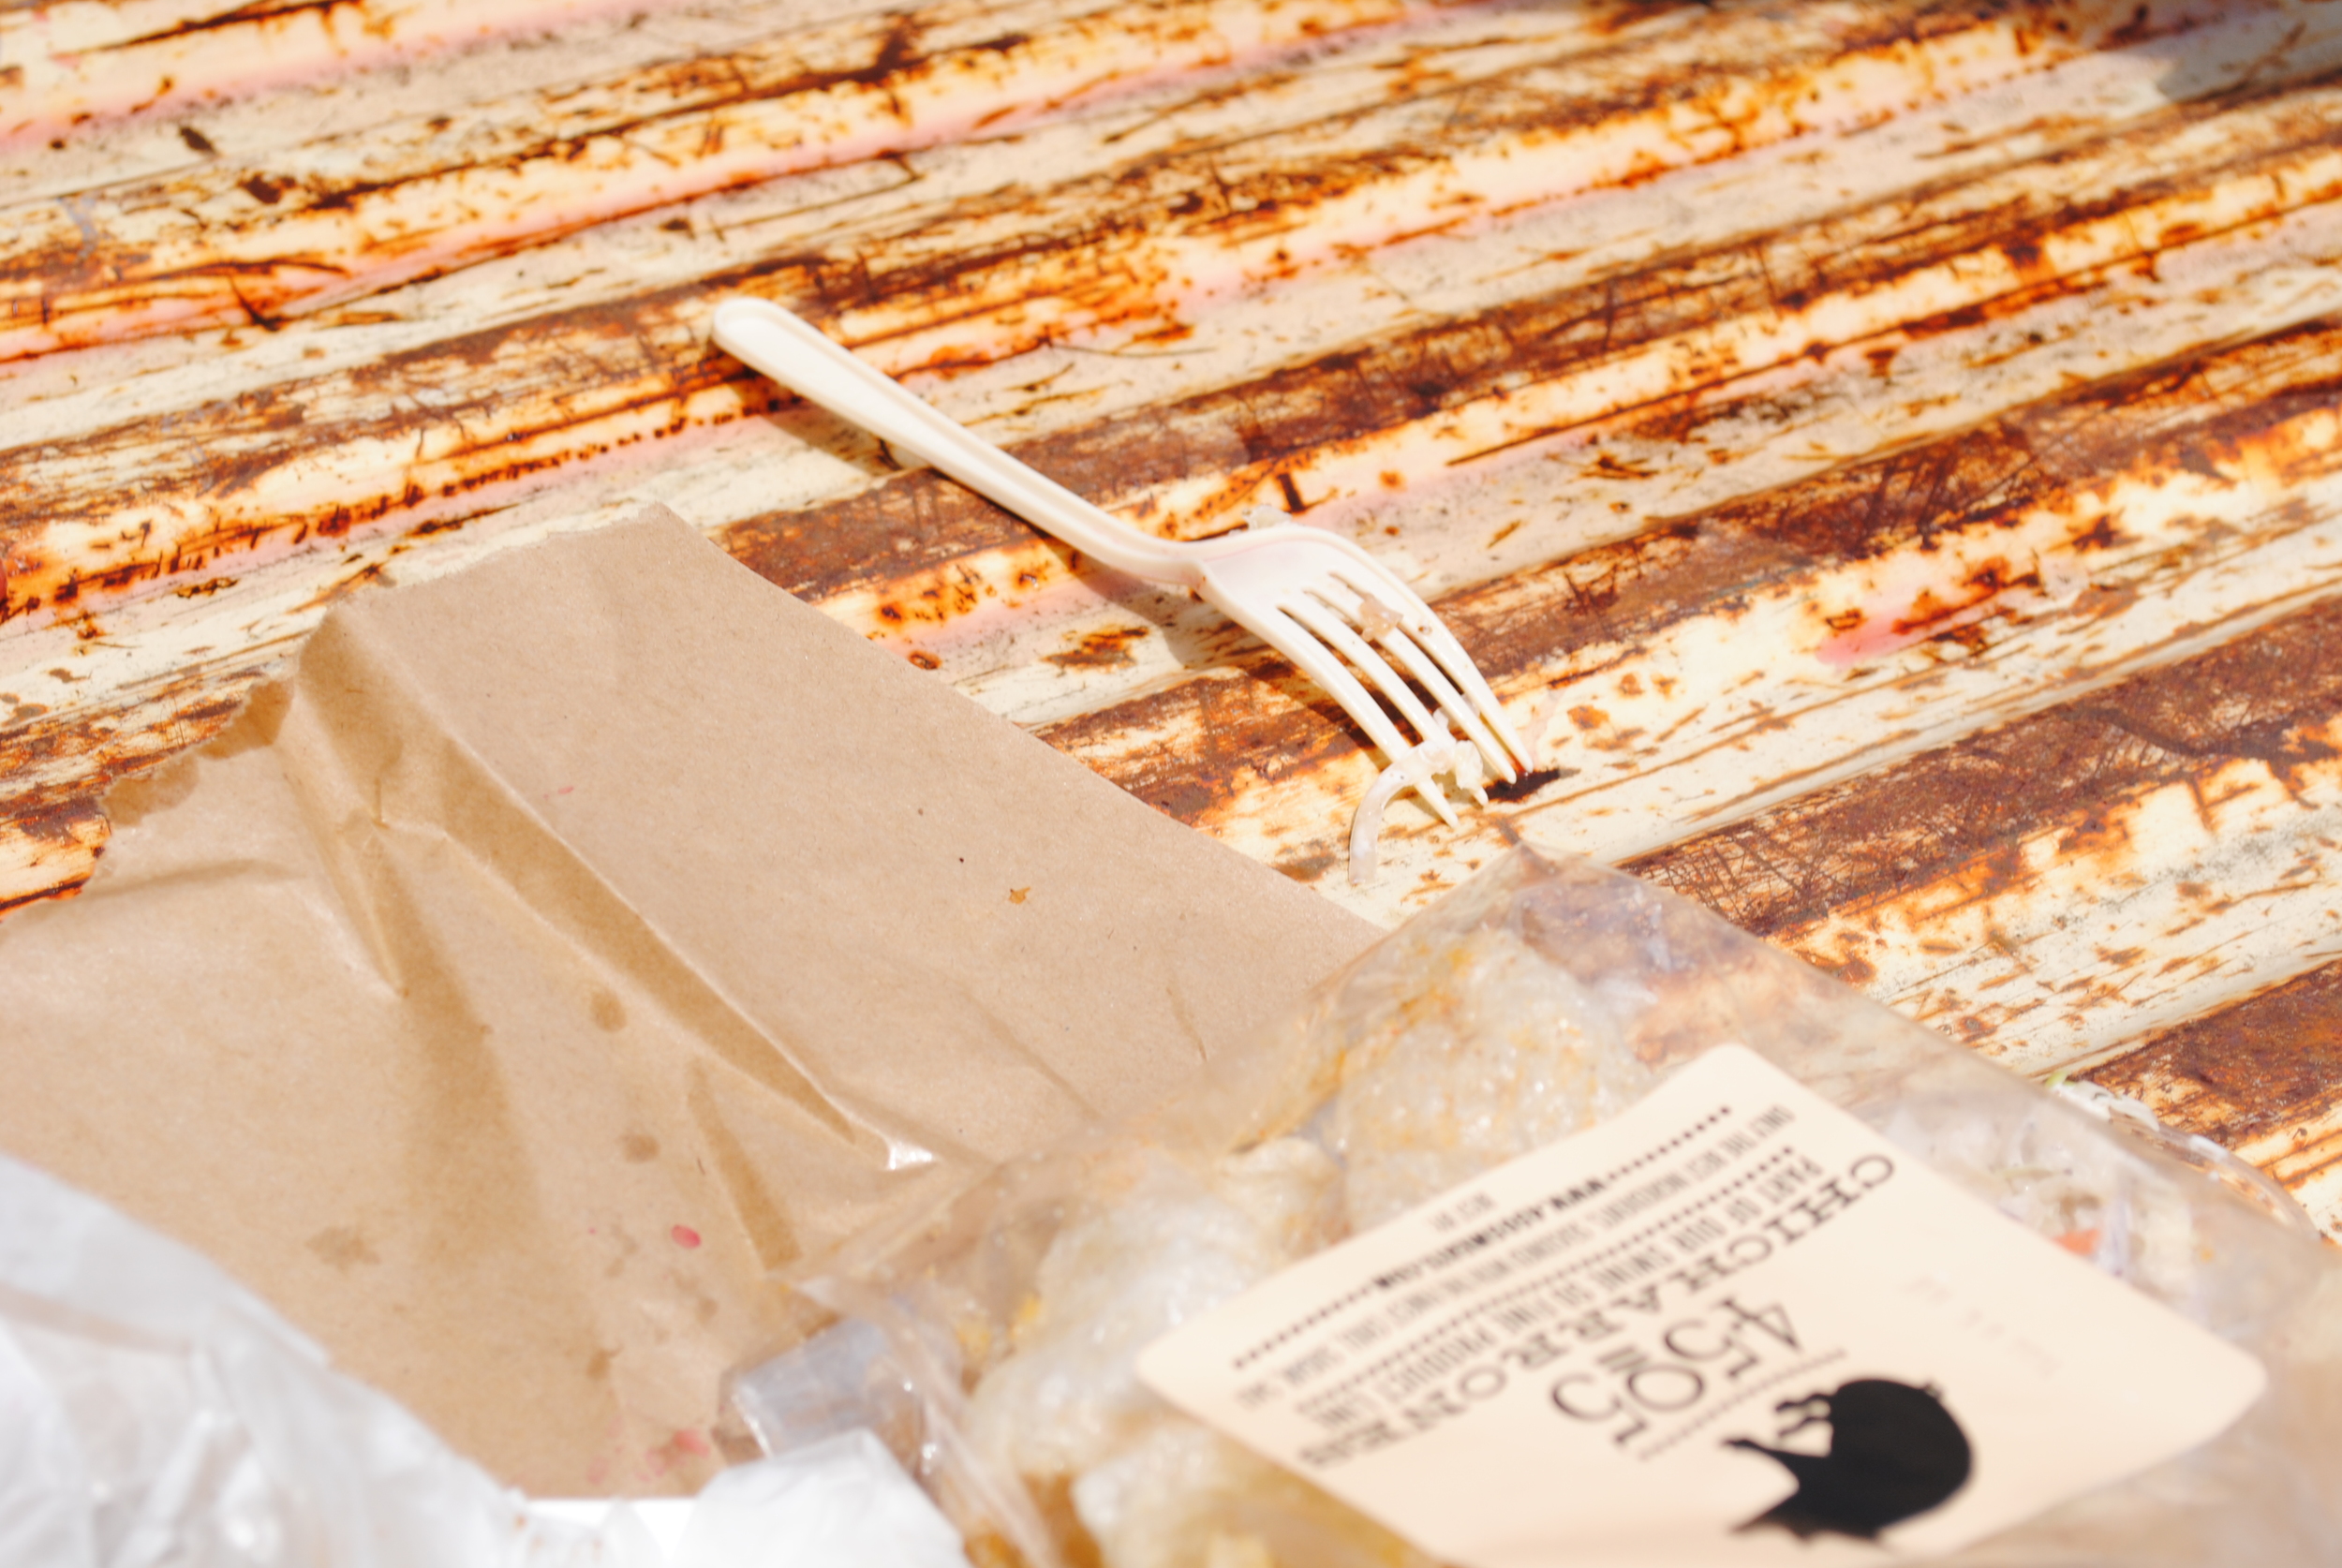
The tailgate party. I've never been to one but it seems like they're done right except for one thing. Parking lots. Cars are meant to take us places not parking spaces. They can take us places that are not easy to get to and places we want to be. The other day I decided to have my own day tailgate party with my friend Emily and her truck. It was more like a picnic but the spirit was there. The destination was Pacific Heights. It proved to be a great spot for this afternoon lunch. It's beautiful and usually inaccessible. Unless your wealthy enough to live there or have a car.
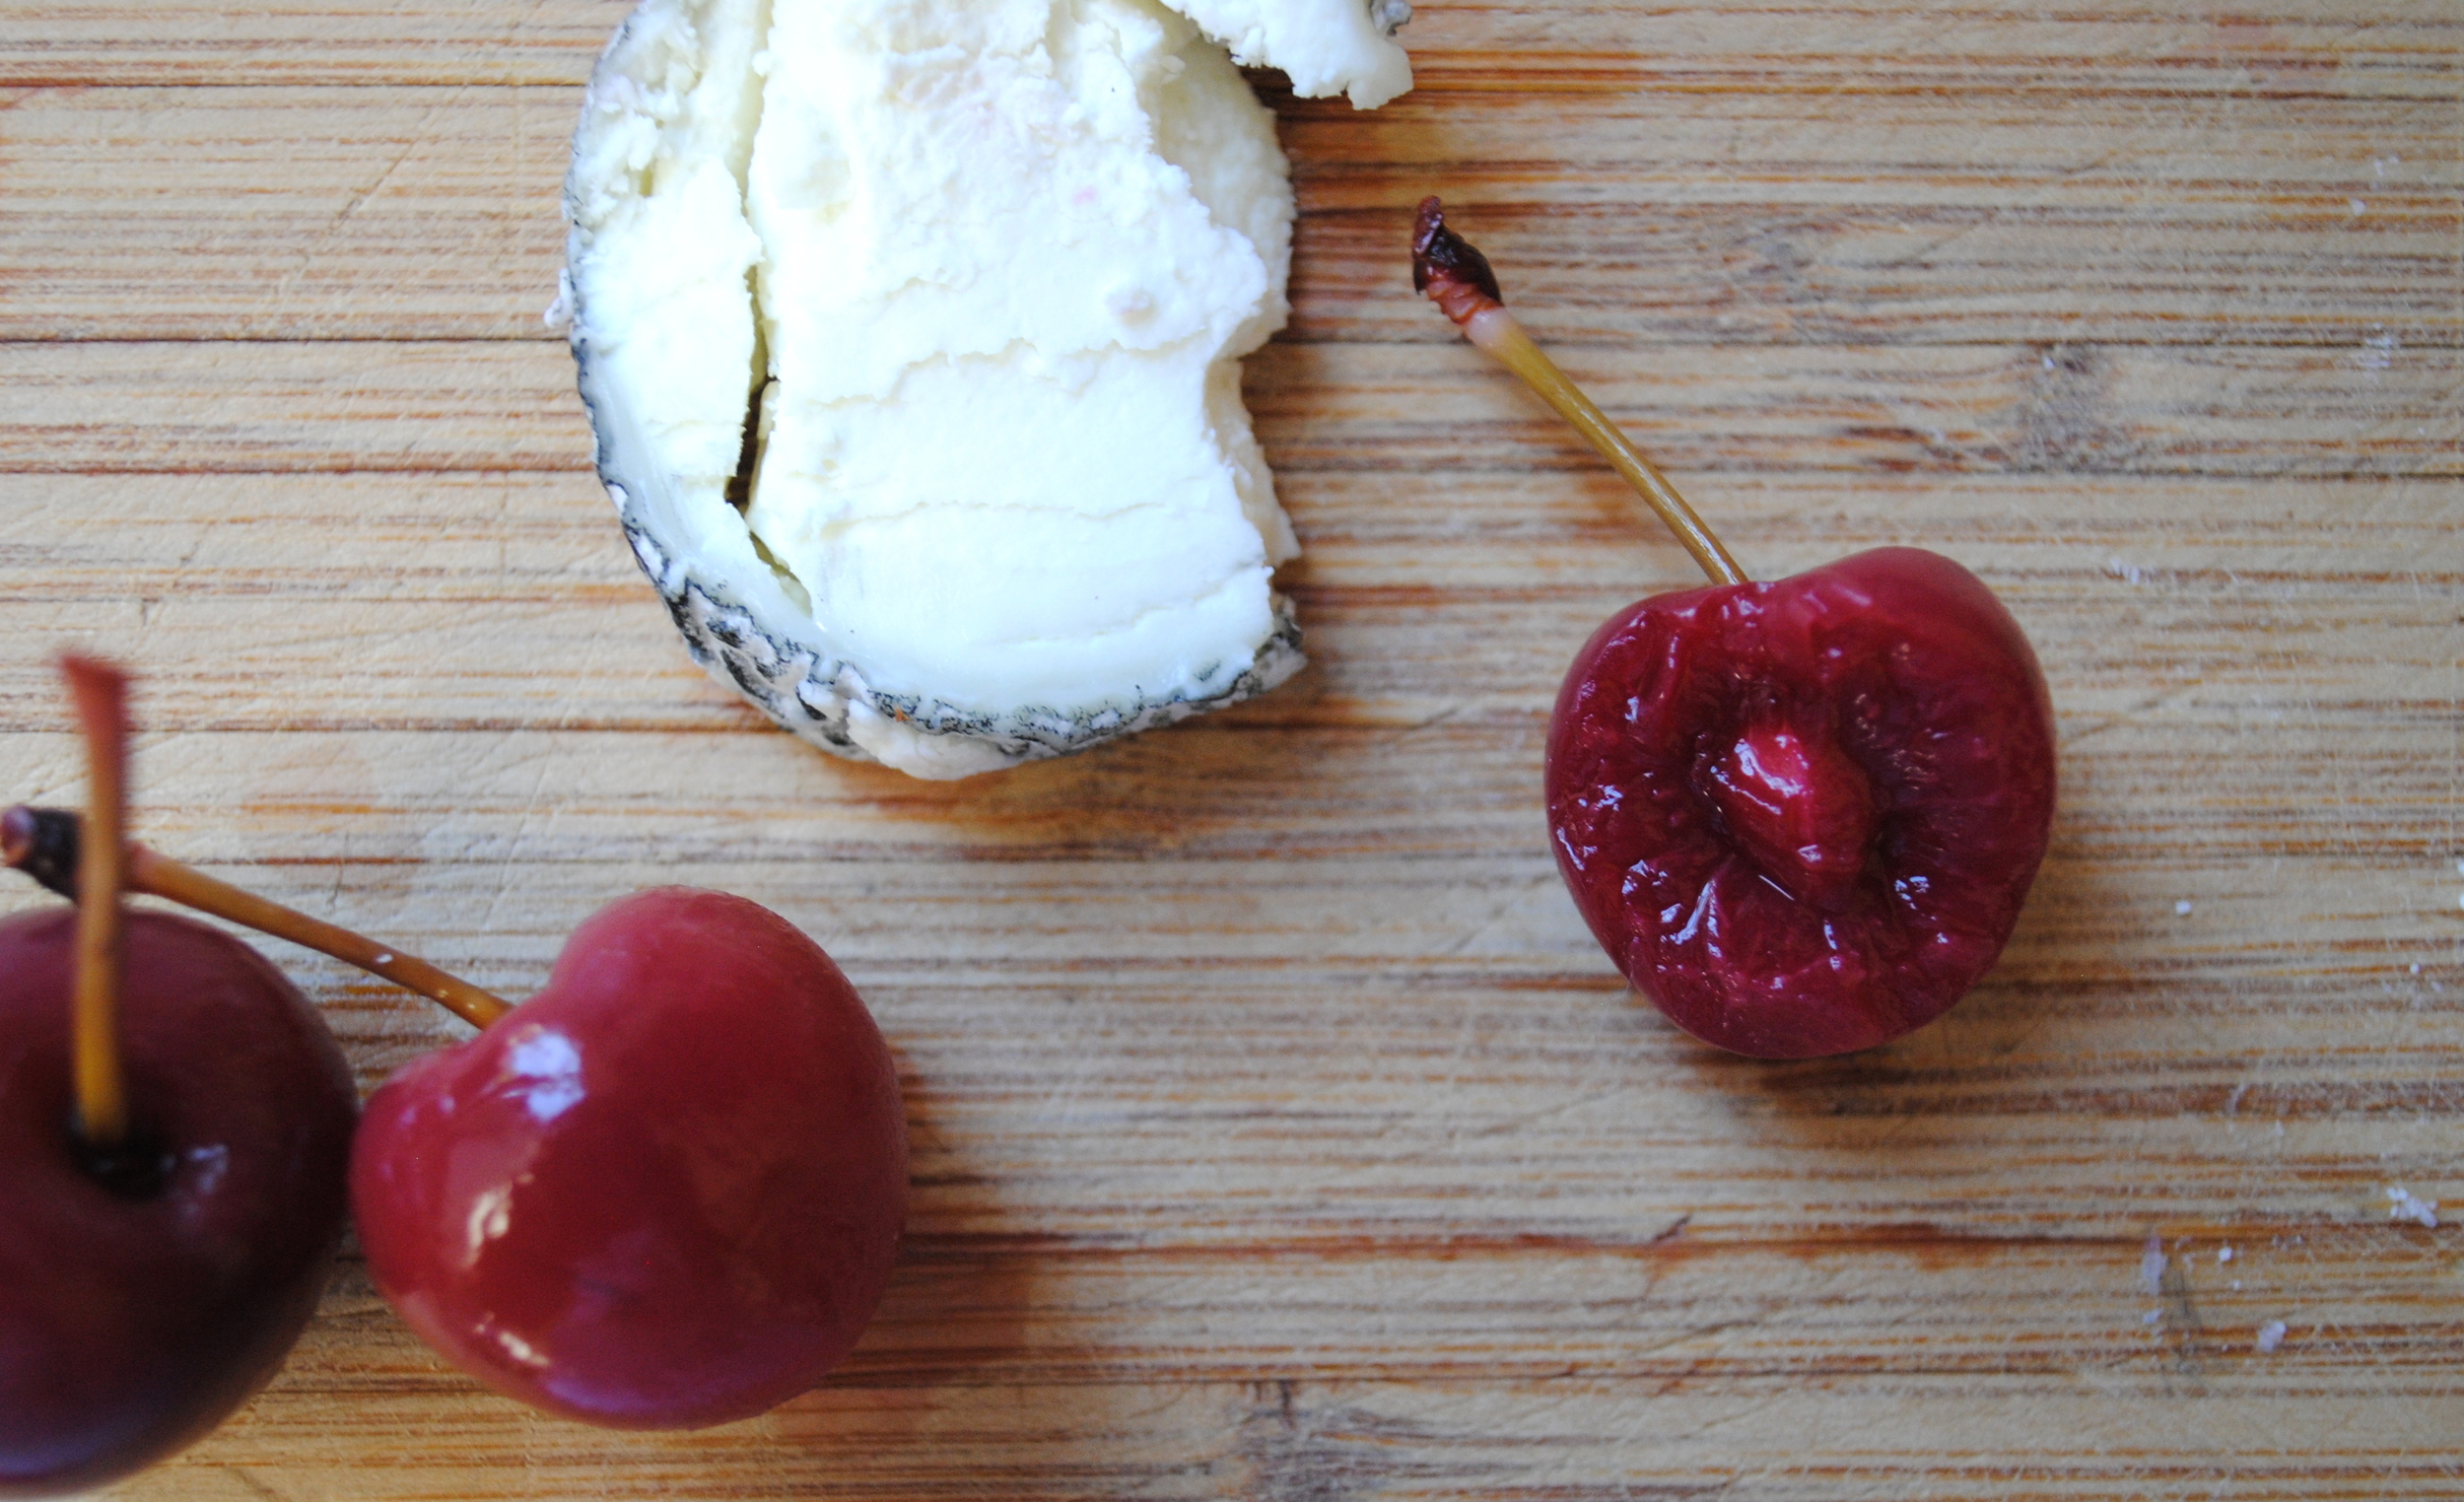
For food we got takeout from 4505's BBQ joint on Divis. They do a solid menu for the urban tailgater. It's hearty as well as plentiful. I found pleasure in the brisket the most. It's soft, succulent and flavorful. I paired them with some pickled cherries i made last month. We got crispy mac n cheese too. It's intense. Get beer. It always feels good to drink a cold one in the street for some reason. Good food. Good views.
Enjoy San Francisco everywhere with food.
sleeper hit: Old Oakland Farmers Market
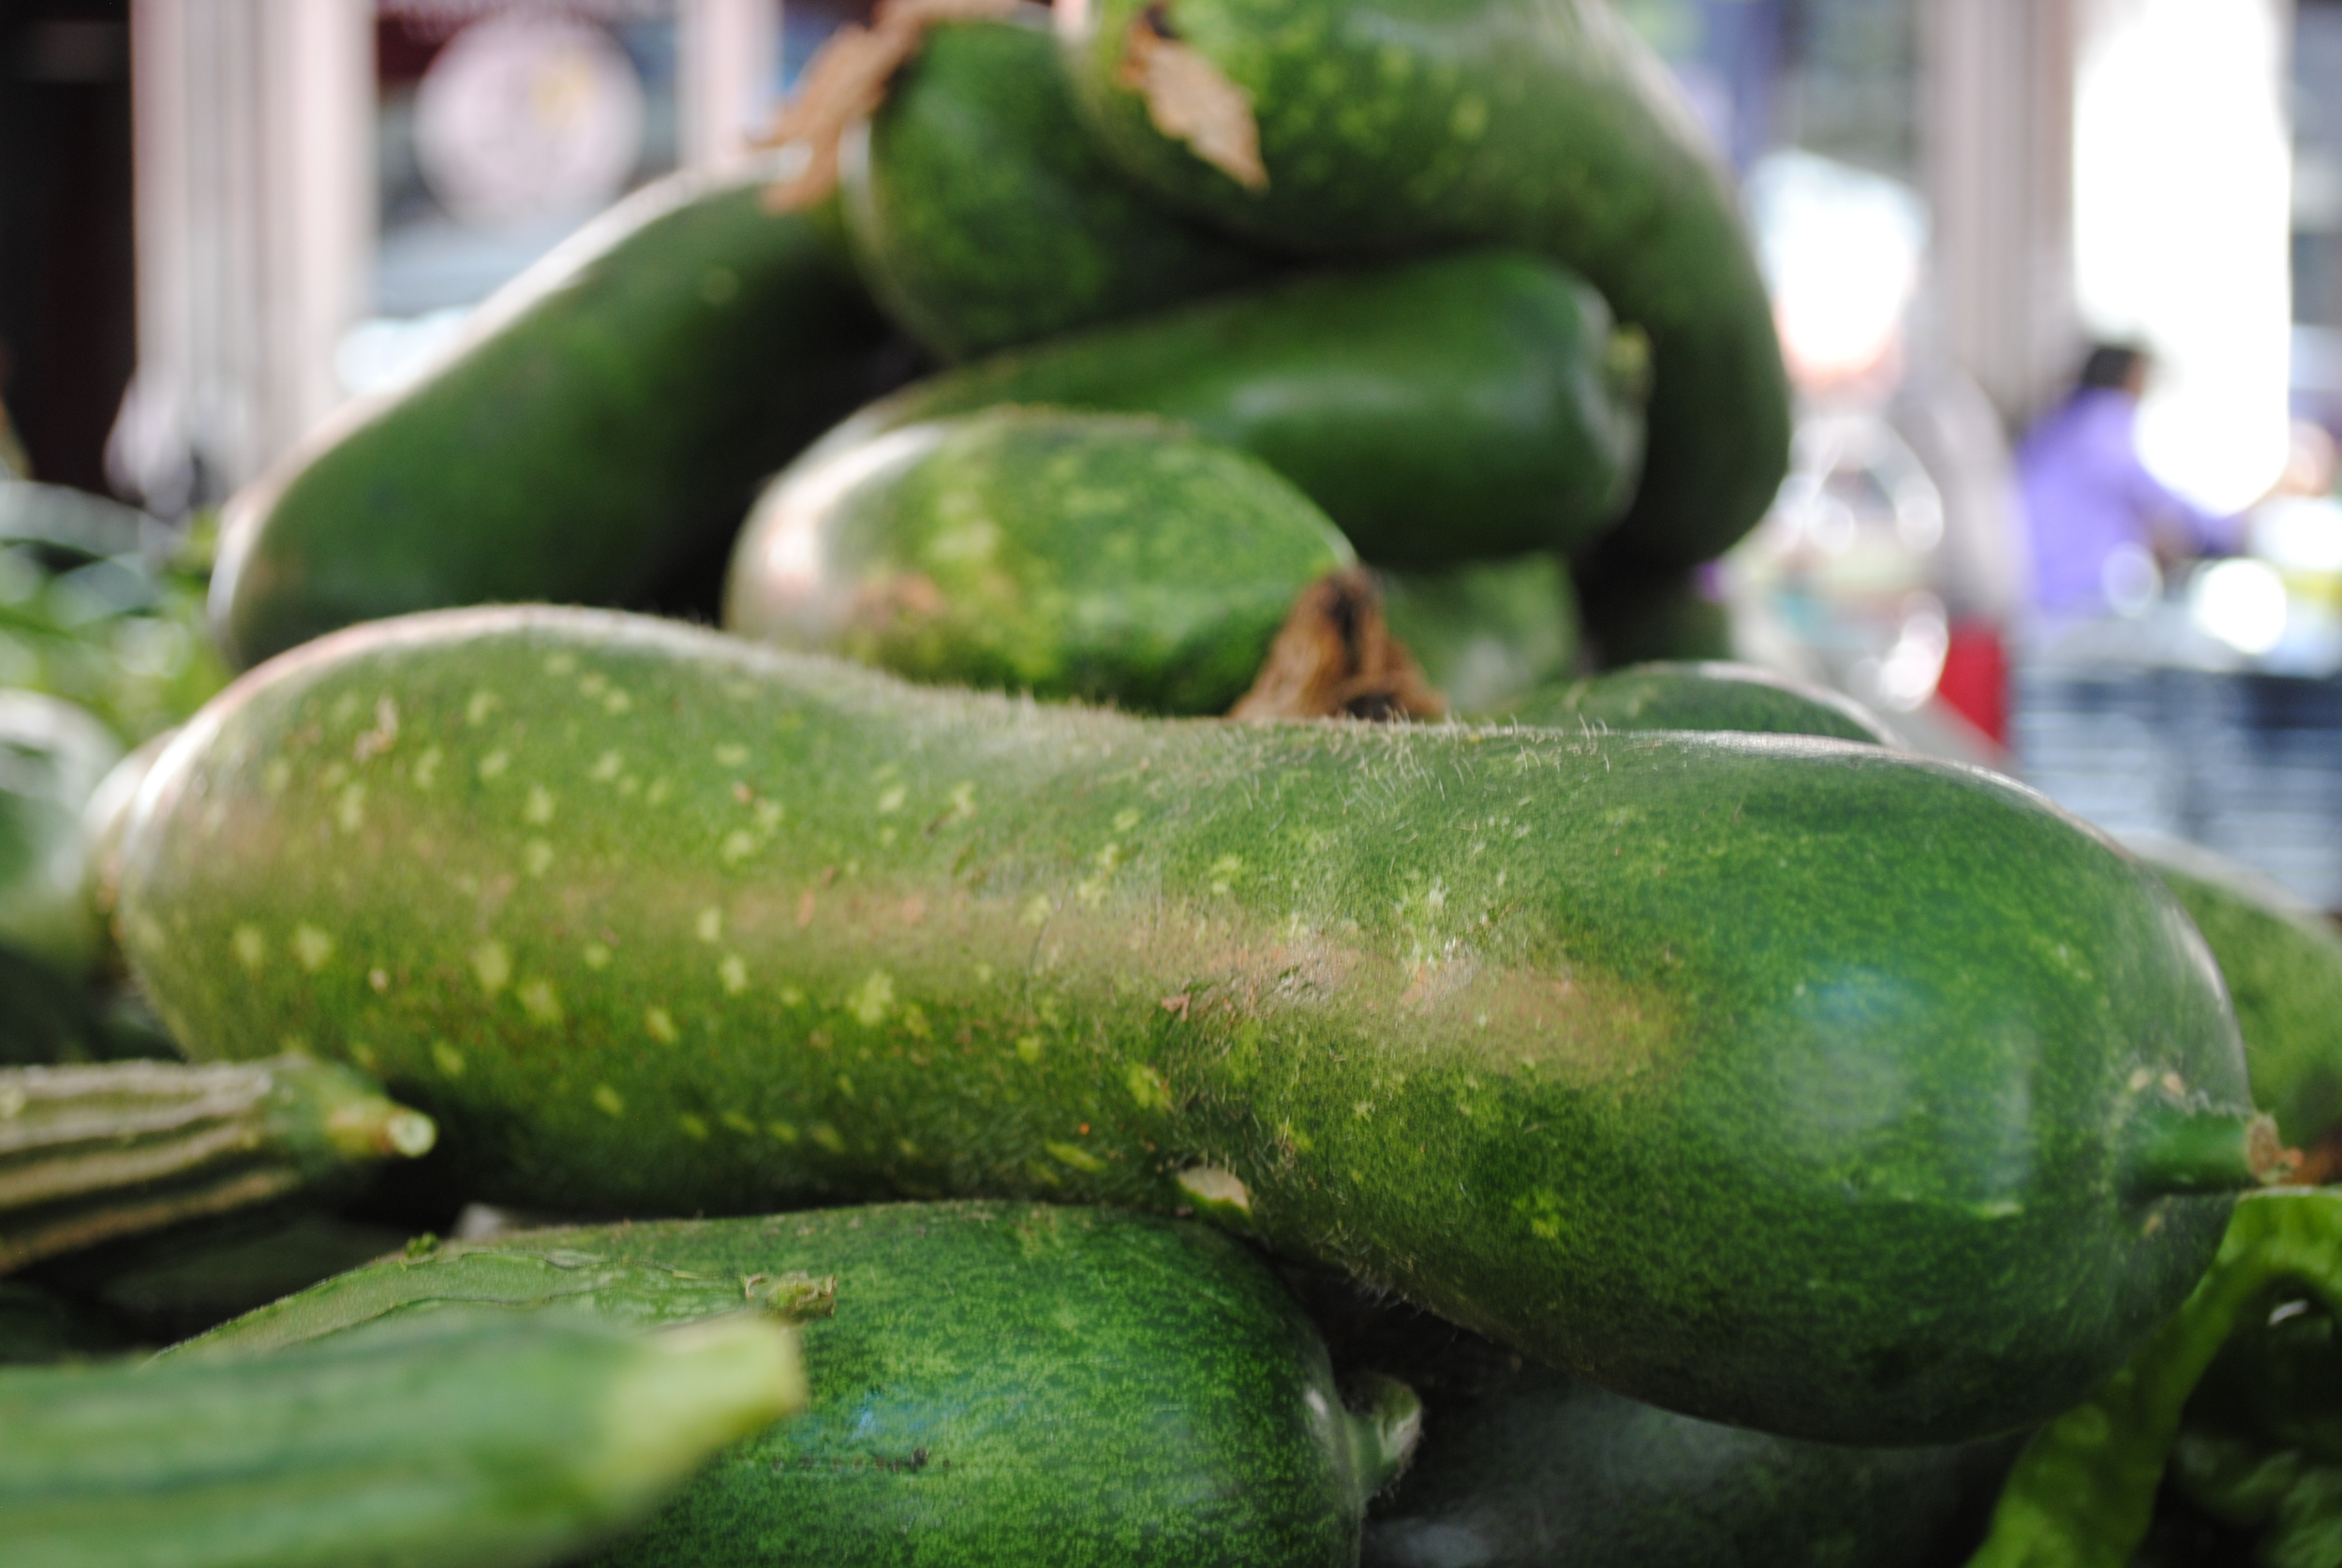
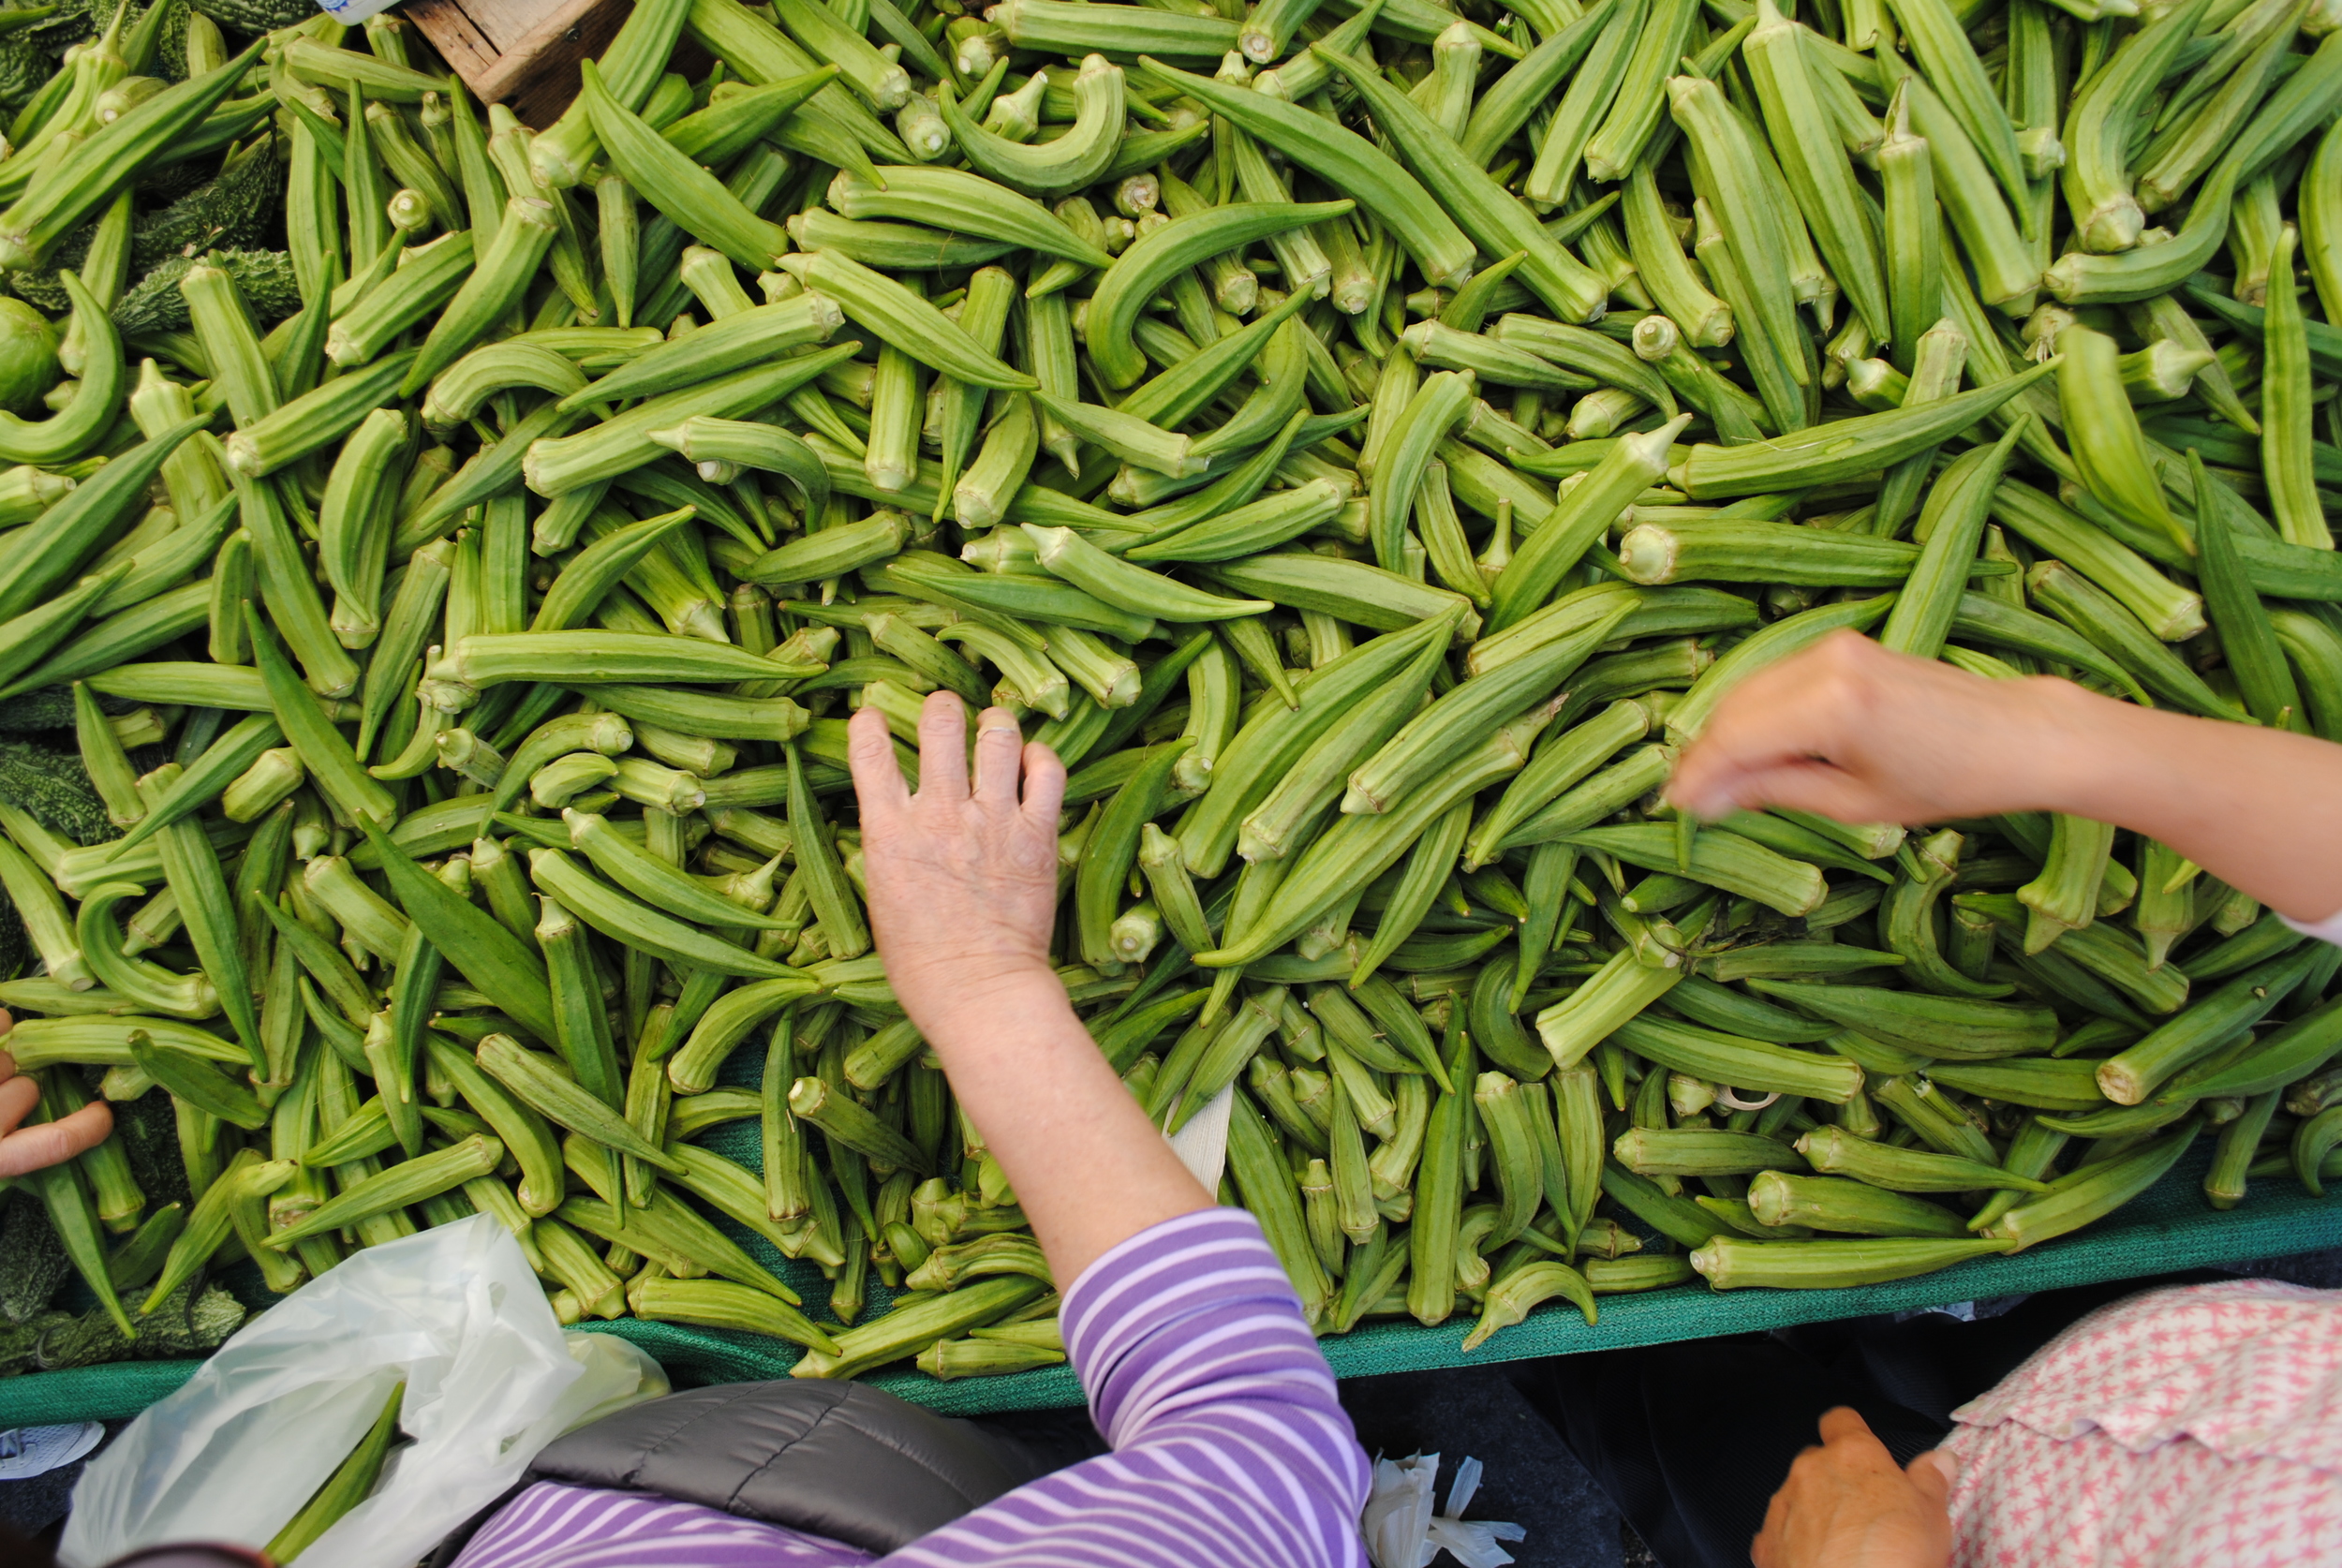
The Old Oakland Farmers Market was one of my favorites when I used to live in the east bay. It's unpretentious yet exotic culture makes it distinct. Its the size of four city blocks and lasts almost all day 8am-3pm every Friday. Last week I found myself missing the market, missing the simplicity of Oakland, and with an urge to get out of from San Francisco I made the trek across the bay
Some things about my visit I found alluring:
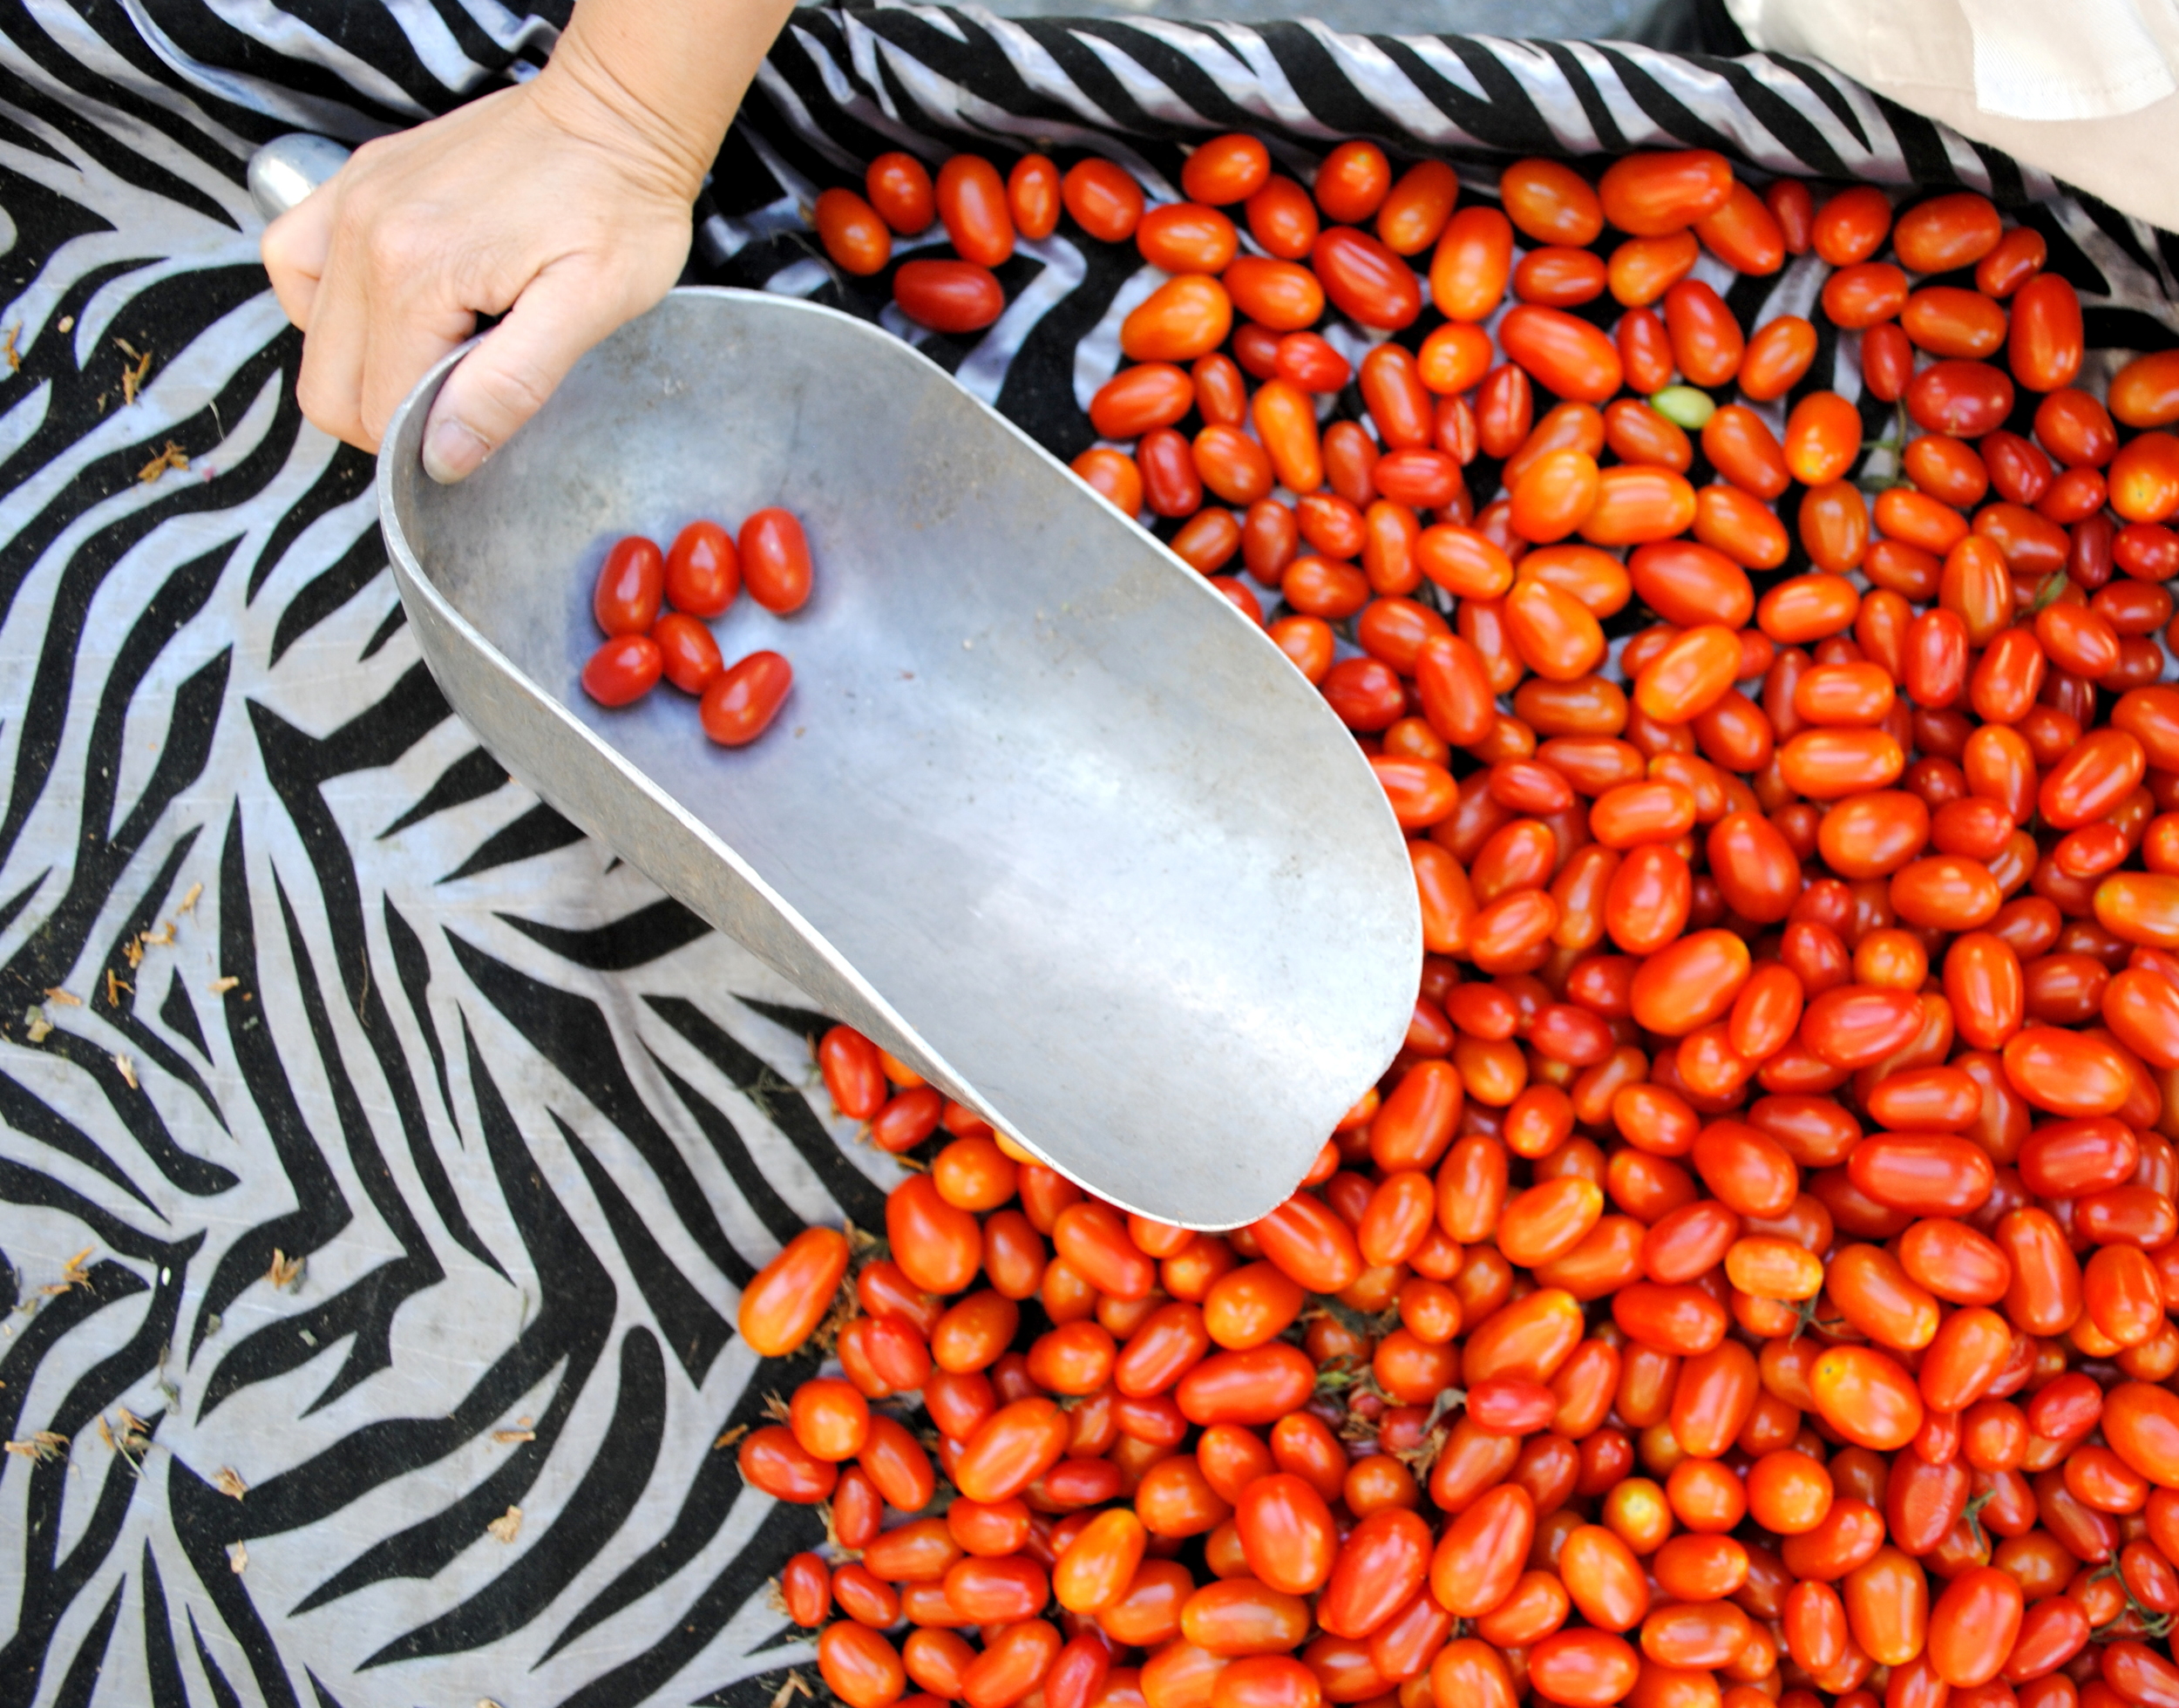
Tablecloths. They really work it at the market. Newly in season tomatoes pop against a wild black and white zebra print. Lemons look abundant while they blend in with their clothy counterparts. Sometimes the tables are just colorful and fun.
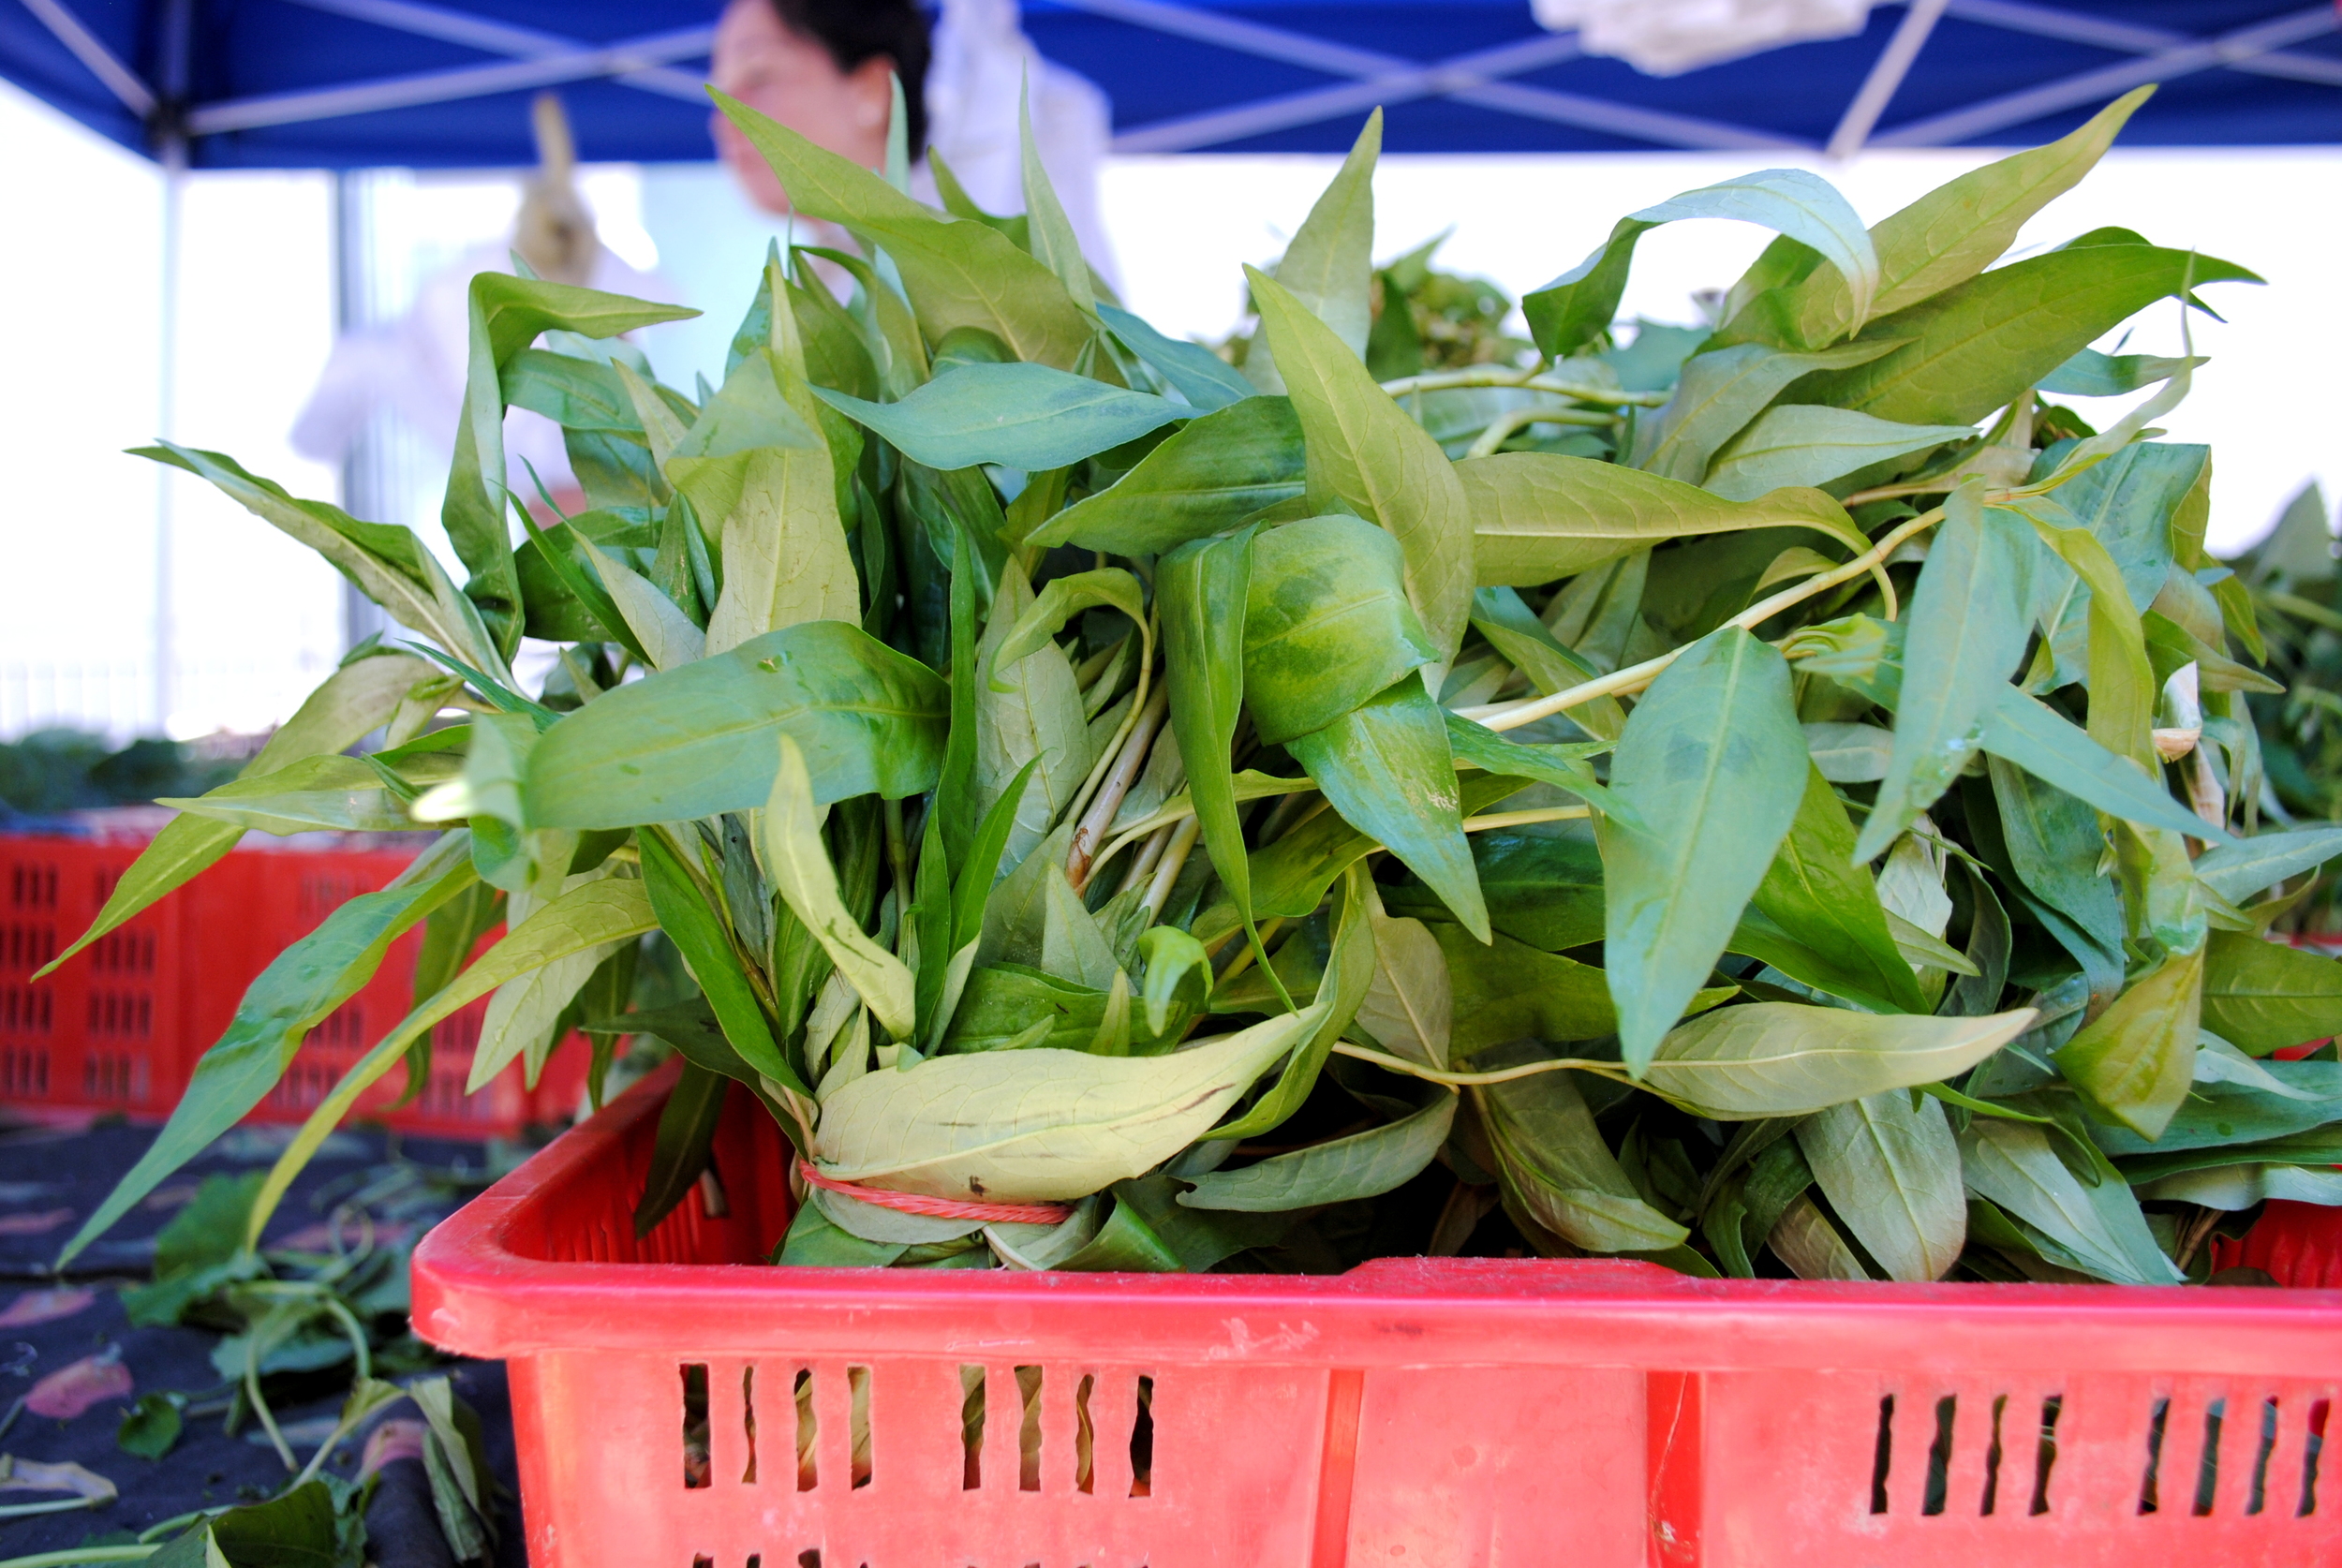
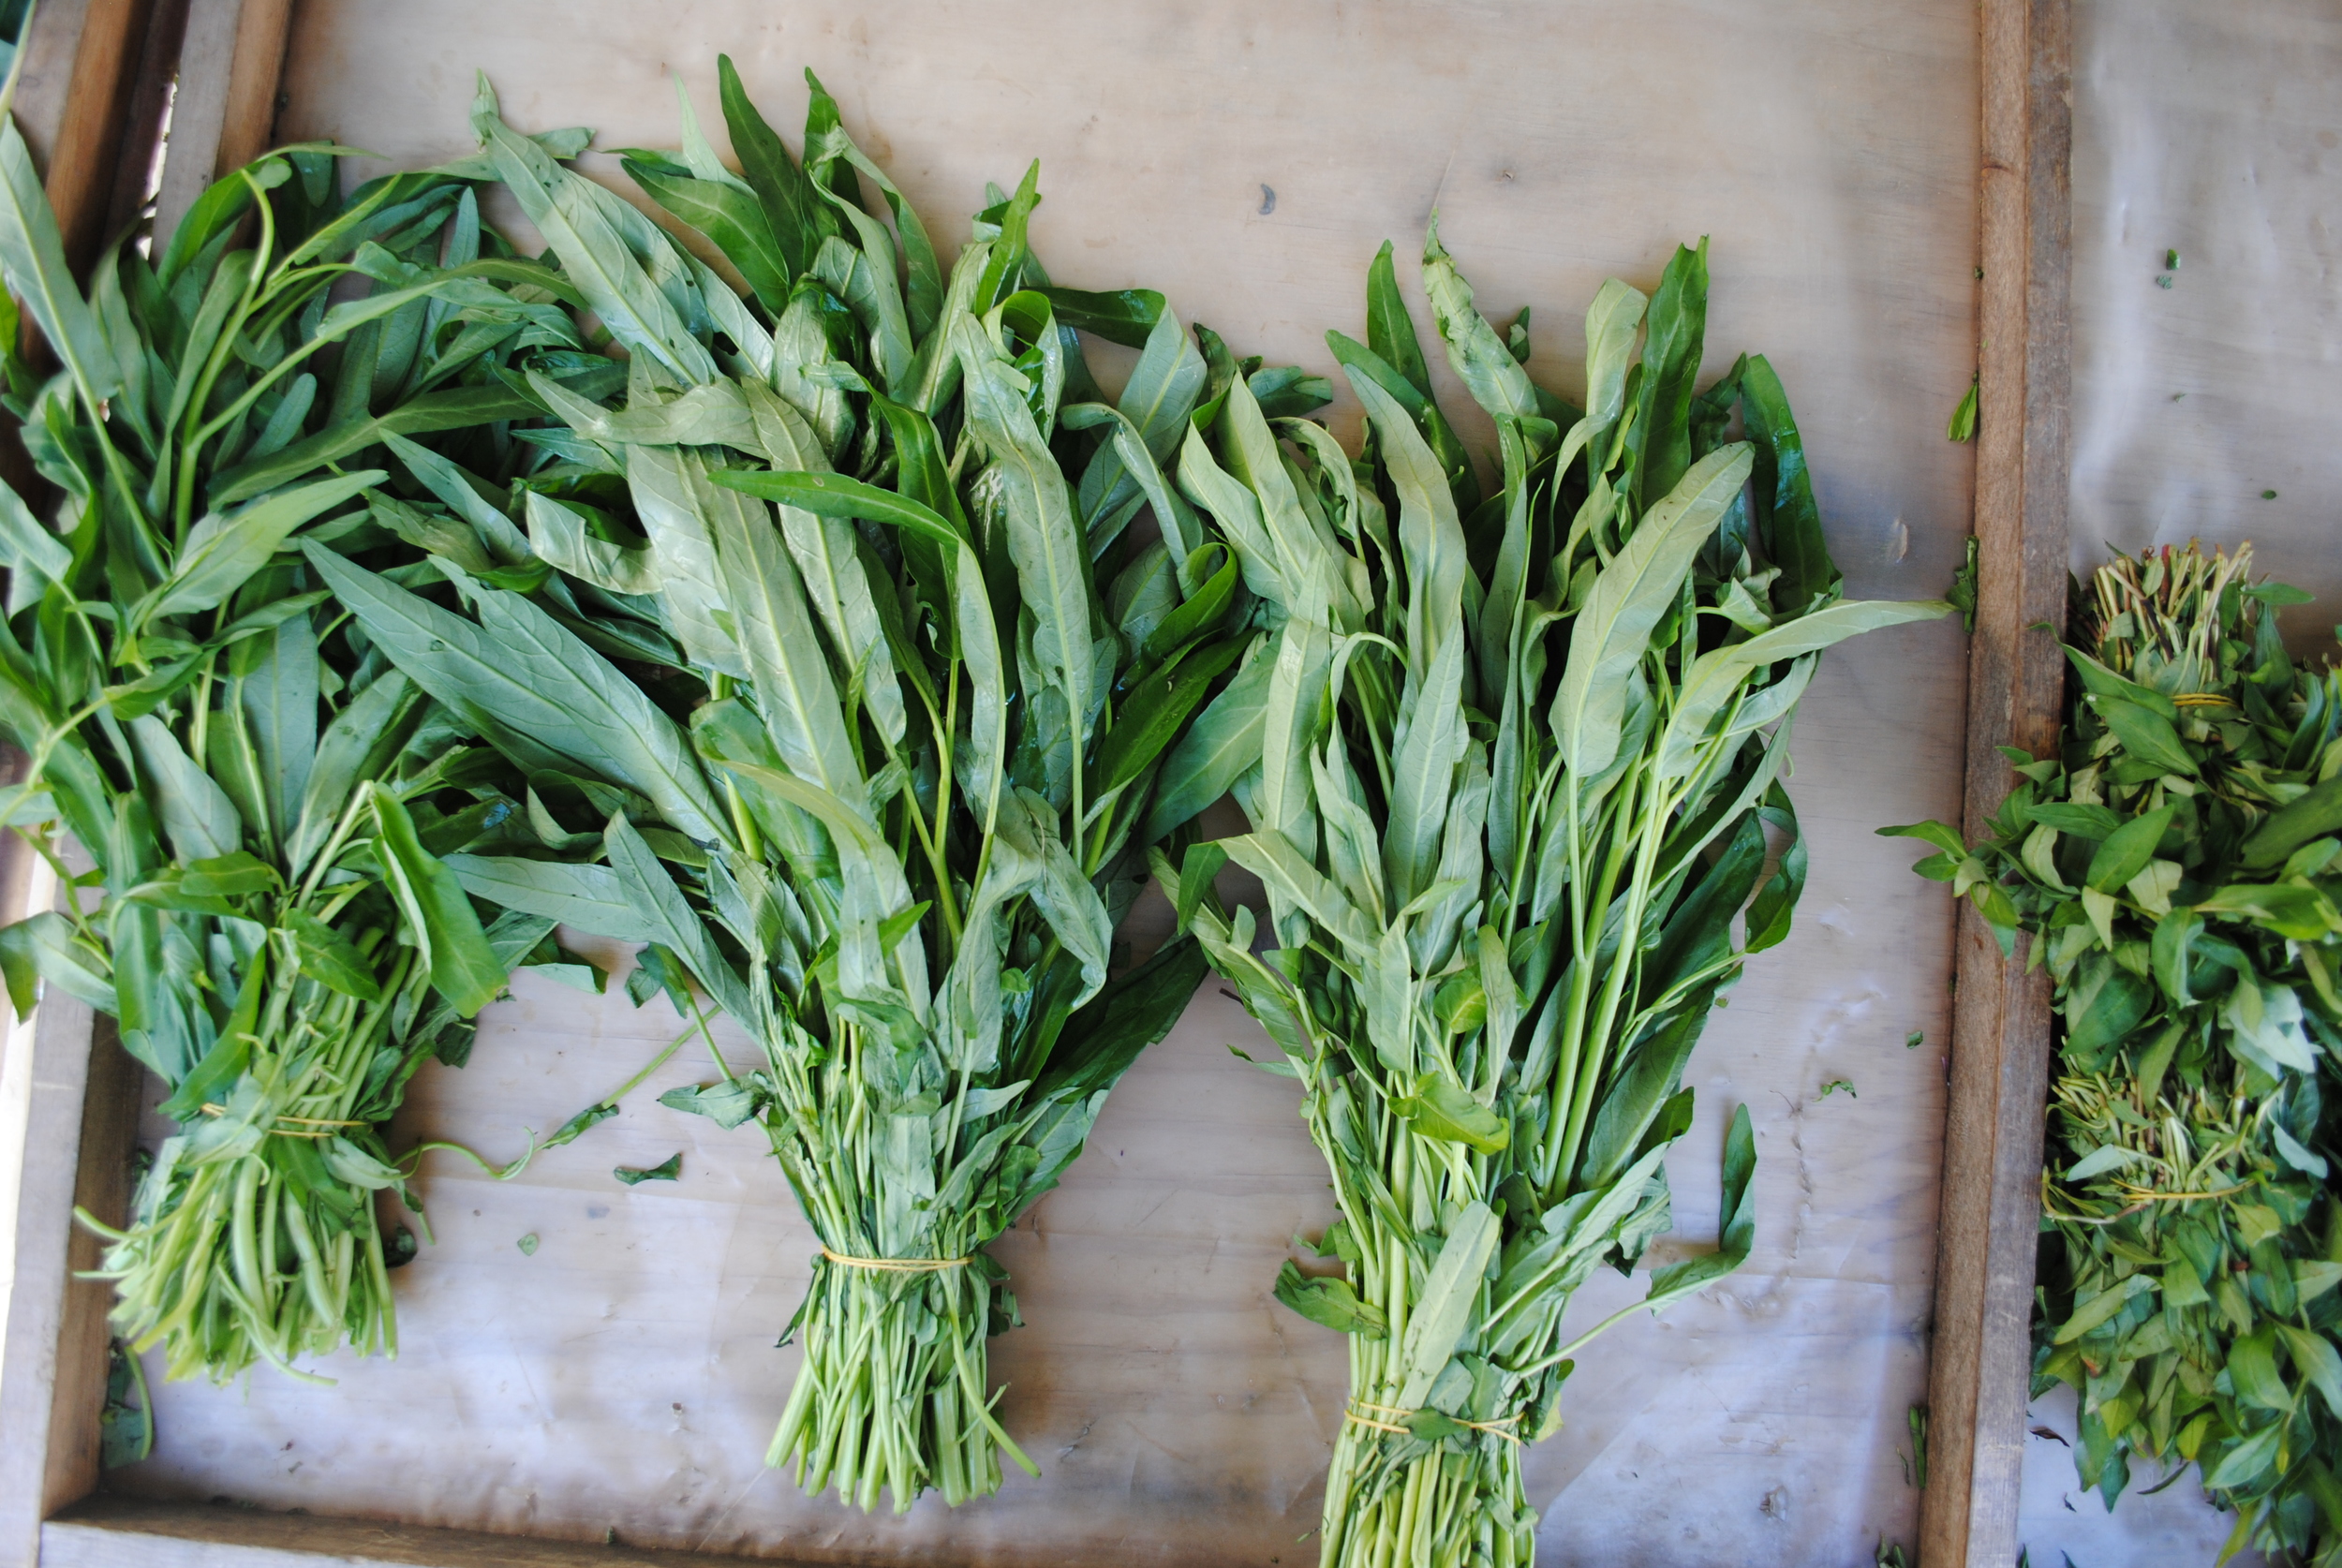
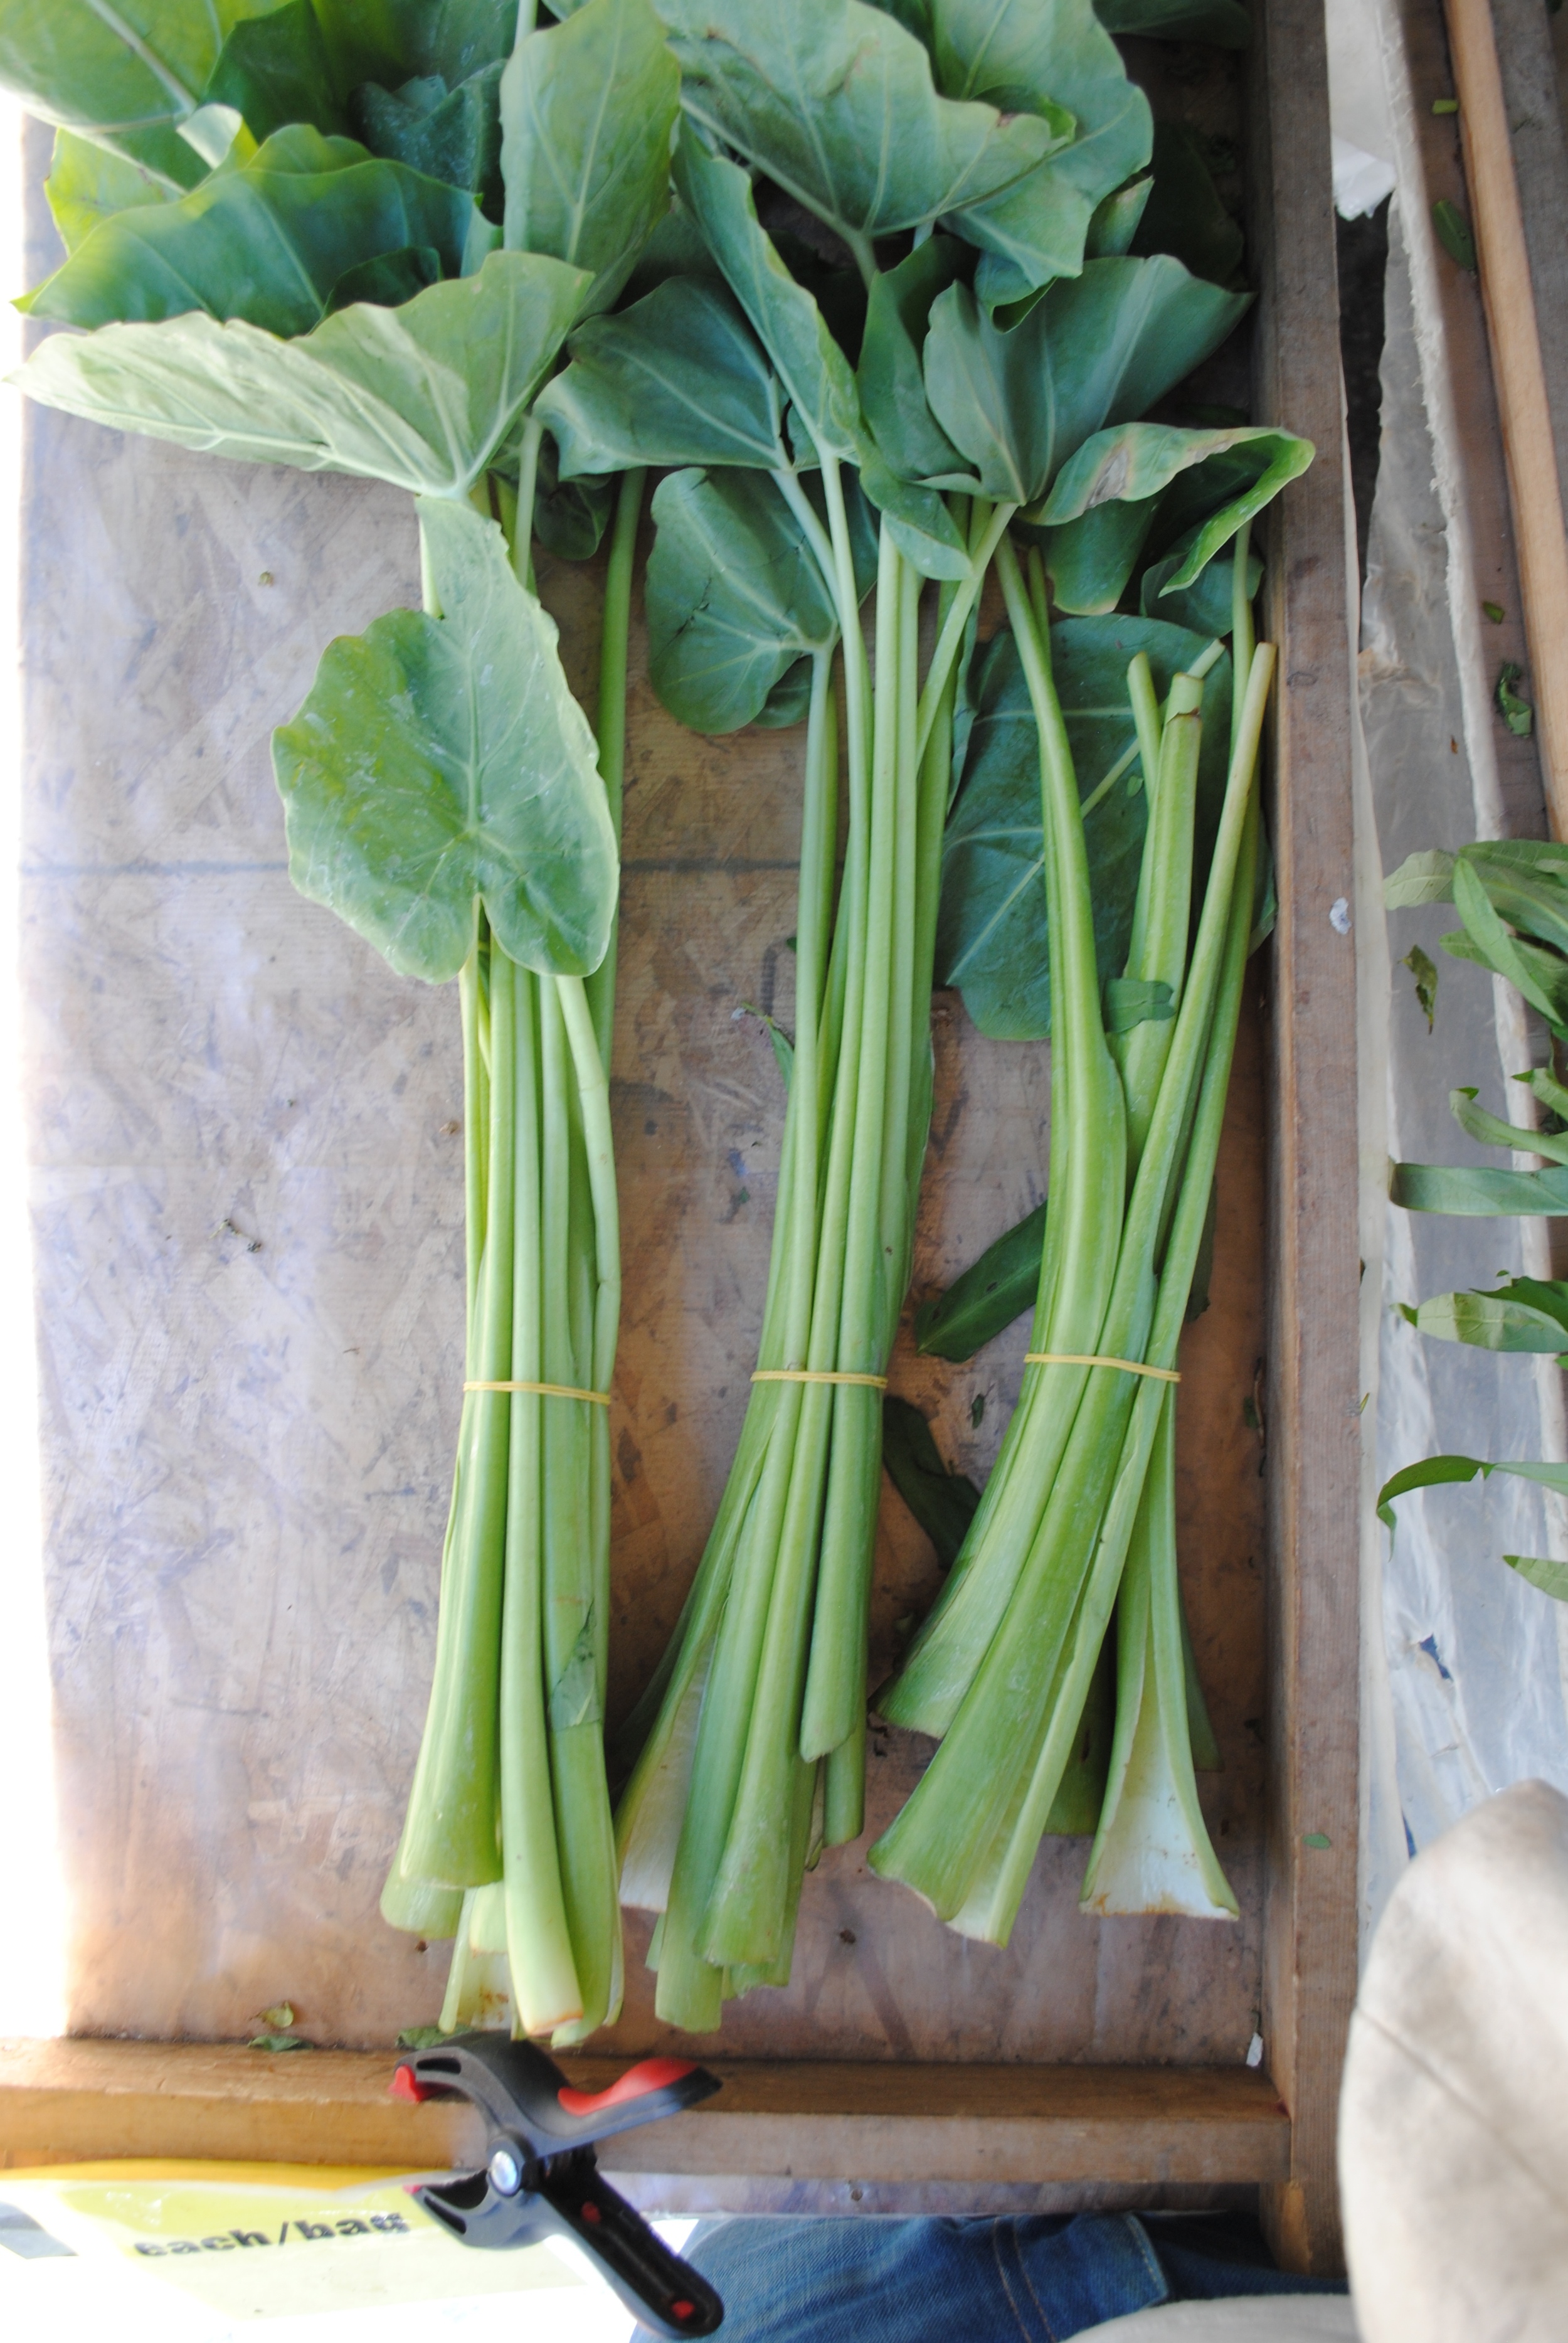
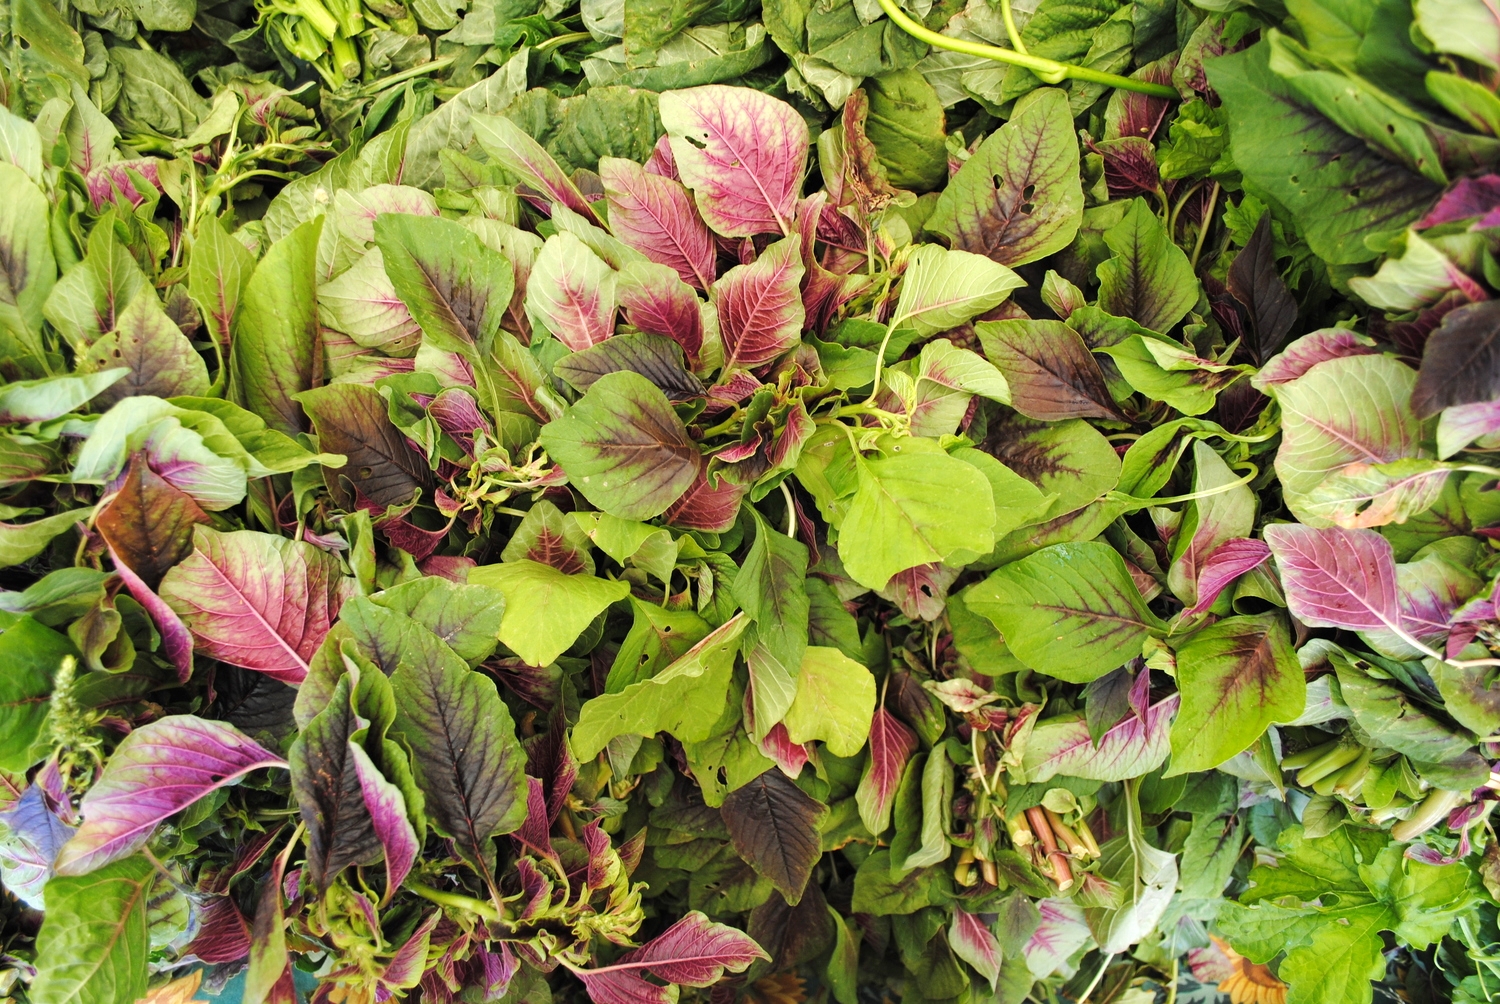
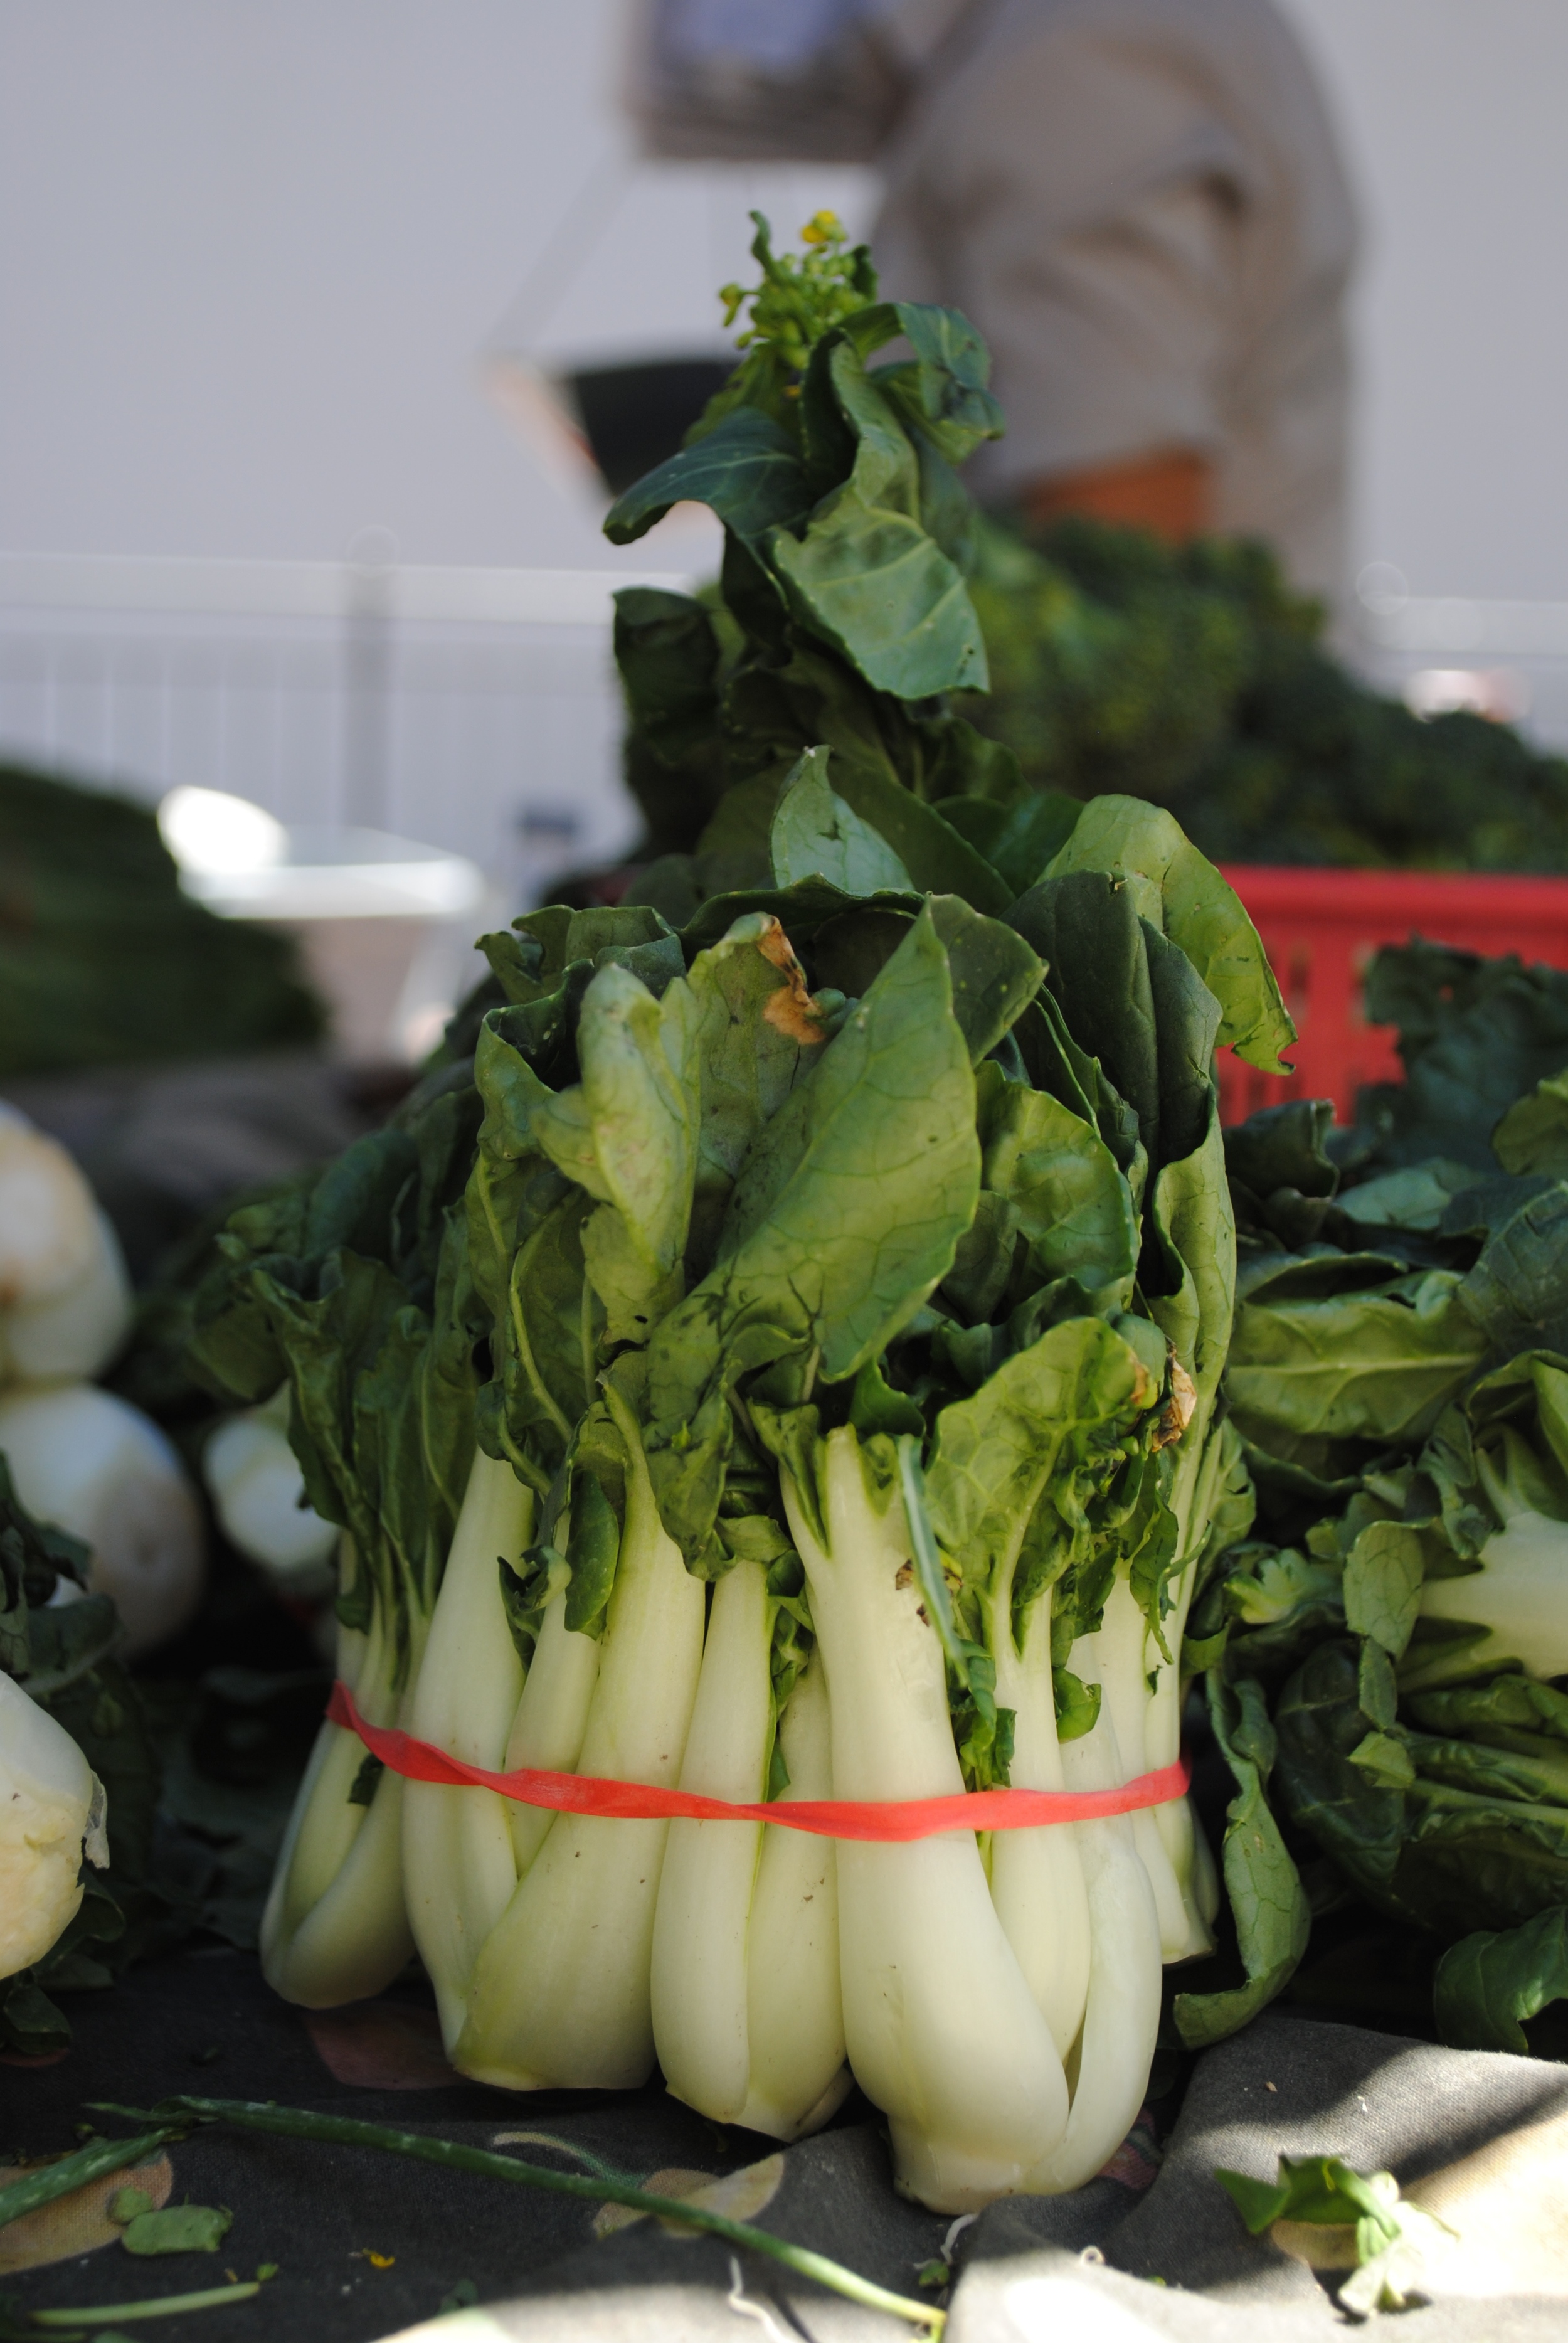
Asian families, not hipsters run this market. Instead of your usual hip and crunchy vibes from other markets I'm refreshed to find parents and children that hang out together. At one stand a young girl worked beside her parents while chatting me up. She suggested getting a leafy green i'd never seen before. She said it was called Shamu. I'm a little hard of hearing so could be wrong but I couldn't help but think of the famous spotty whale from that movie. It looked and taste a lot like a version of a pea green but with smaller stems. At another stand there was a young chubby kid just hanging out. He sat on empty produce boxes playing and working on his knife skills while his parents worked the crowd. I asked how to use some green I hadn't seen before. He said, "i don't know". I moved on thinking that was just fine how wouldn't know either.
What's popular at the market are crops with fresh flavors, asian produce, herbs, fish, sweets, and bright colorful flowers that I and nearby chinatown residents love. That morning I came across my new favorite herb. It's called Rau Ram. It's coriander like, a bit spicy, musky, and slightly lemony & bitter. The woman who was selling it said she loved it in chicken salad but it's really great in almost anything, lettuce wraps, soups, etc. Prices are cheap too are at this market. You can walk away with a weeks worth of produce for a family for about 20-30 bucks.
I decided to leave the market with the fixings for a light and herbaceous side salad for dinner. I bought a pound of cucumbers, a bunch of rau ram, thai basil, cilantro, and a red onion. There's no one way to make this salad. You can cut the cucumbers anyway you like. The onion should be thinly sliced though so they really soak up the dressing. The dressing I made was fish sauce, vinegar, lime, oil, and a little sugar. Just toss the cucumbers, onions, and your picked herbs together and you're set.
Pickled Cherries with Backyard Rosemary
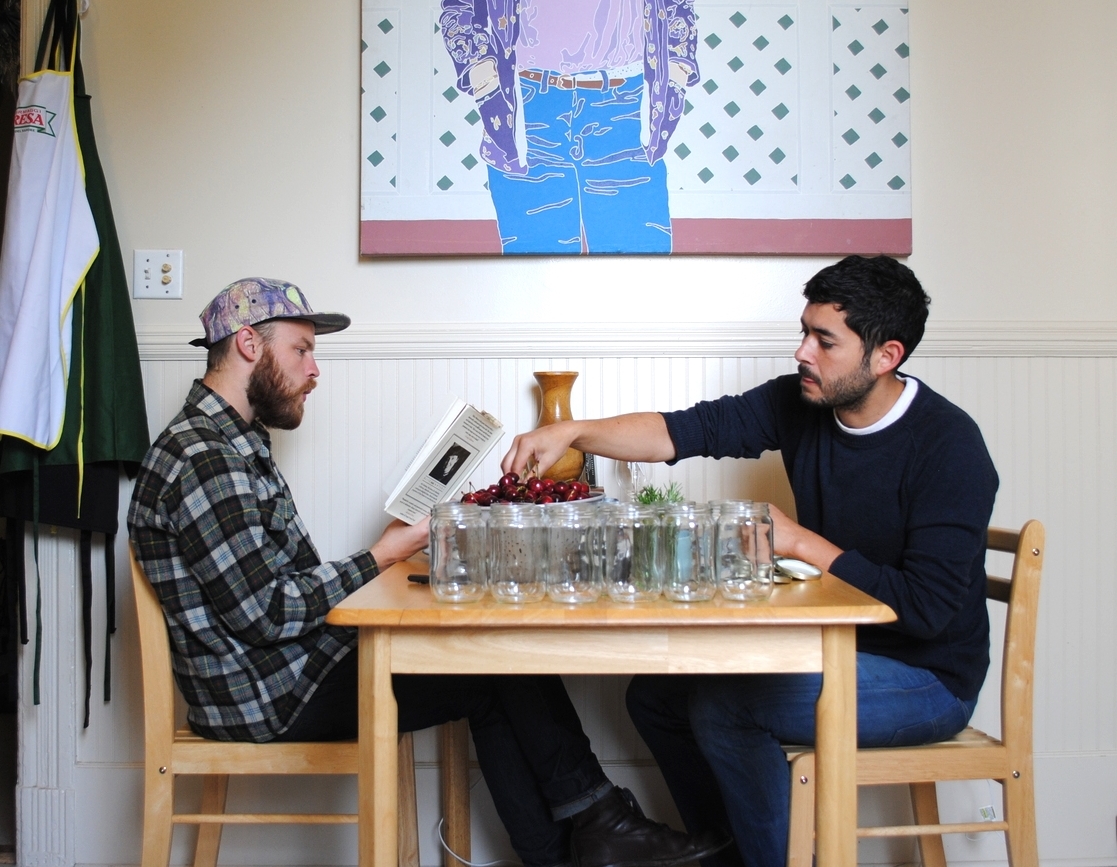
We learned to can and pickle by ourselves. Just two dudes into food and lots of time on our hands. Uncommon Pickle used to be our canning company. We sold our wares to some local stores and Underground farmers markets in San Francisco and Oakland. Now all we have are the pals we made on the way and the recipes I'd like to share. Here's one from the other day.
***
Cherry season is on its way out right now.
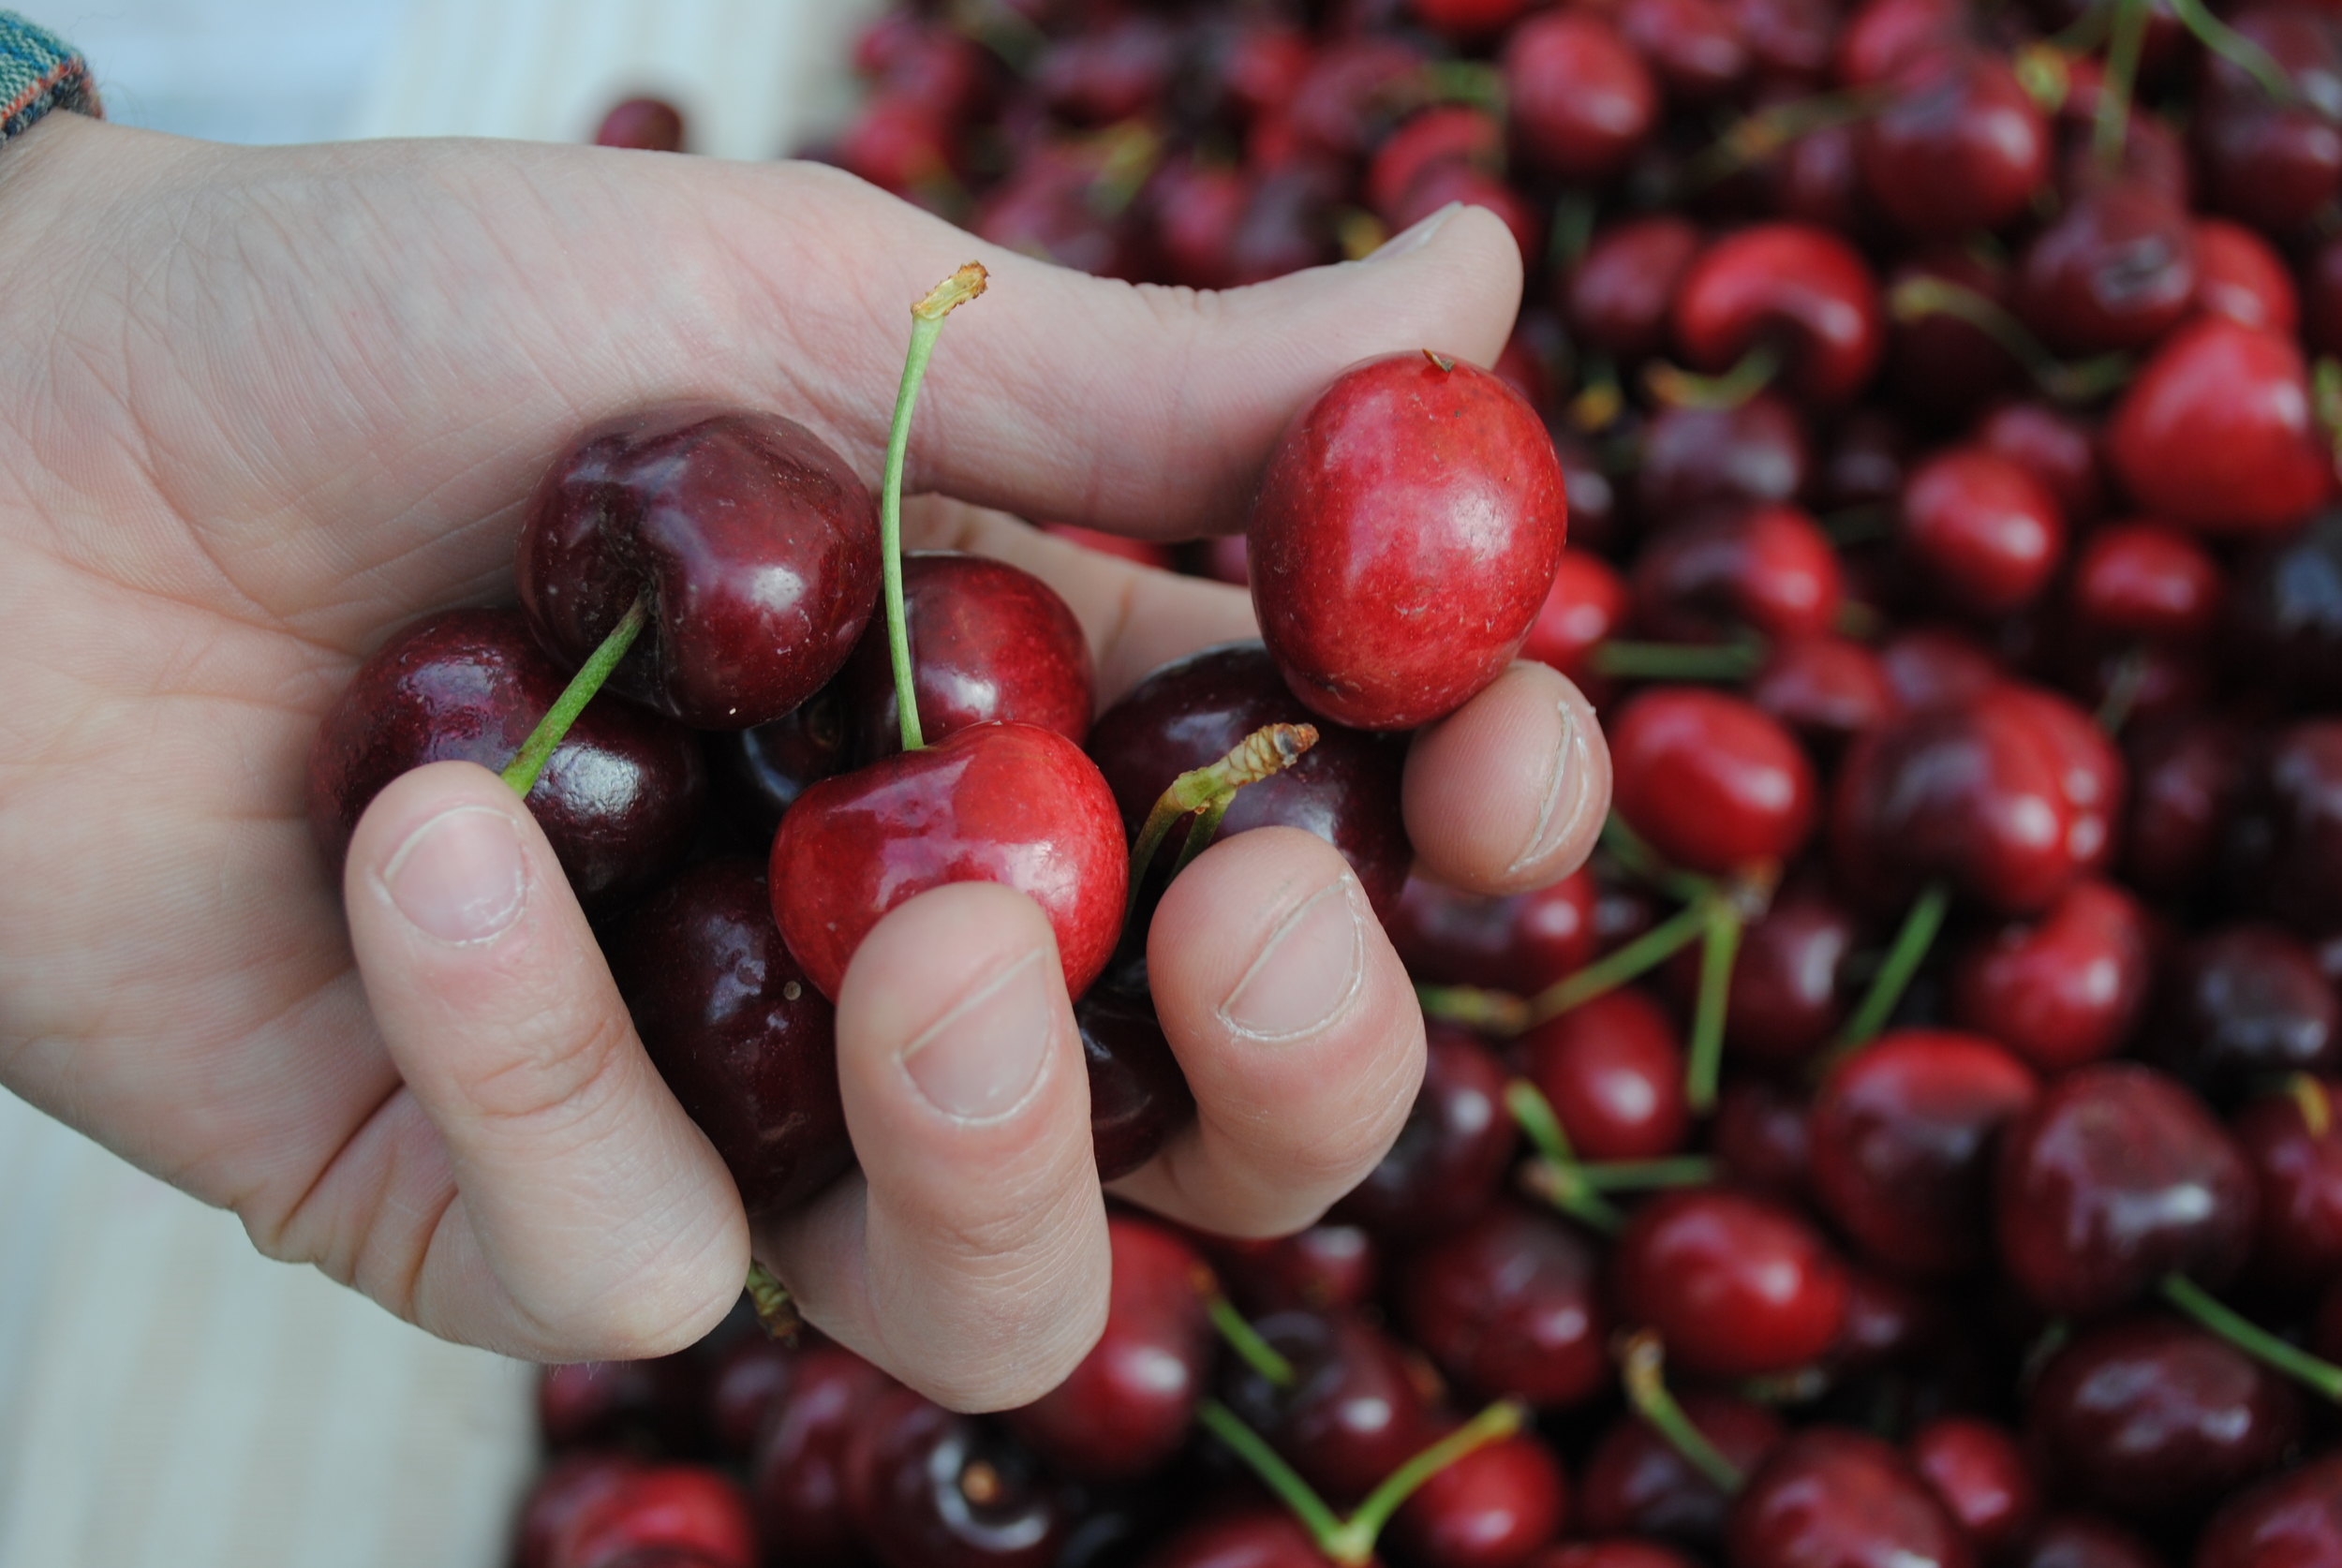
Last sunday morning I got up early around 7 or 8 with my partner John to go to the farmers market near our place. To him, it probably seemed like very very early because he's not usually up at all near that single digit hour. No bus noises coming through the single pane windows. No frightened woman screaming and yelping for the bus driver to wait for her to be heard either. Sundays are calm. The goal was to find cherries so we could can them. They're special to me because not only are they delicious but they represent the start of summer. When we got there nobody was fully set up yet. It was the first stall that had them. Super sweet, firm, kind of perfect actually. The farm was called the Resendiz Family Farm. They had other stuff like some plump black cherokee tomatoes that I wanted. I like deals so I asked them to slide us a couple for free for buying several pounds of cherries. They said yes. score. We left with 6 pounds of cherries and some eggs. Then back home for morning canning and brekkies. The last cherries and first tomatoes of the season. Needless to say the morning was sweet and savory.
Pickles Cherries w/backyard rosemary:
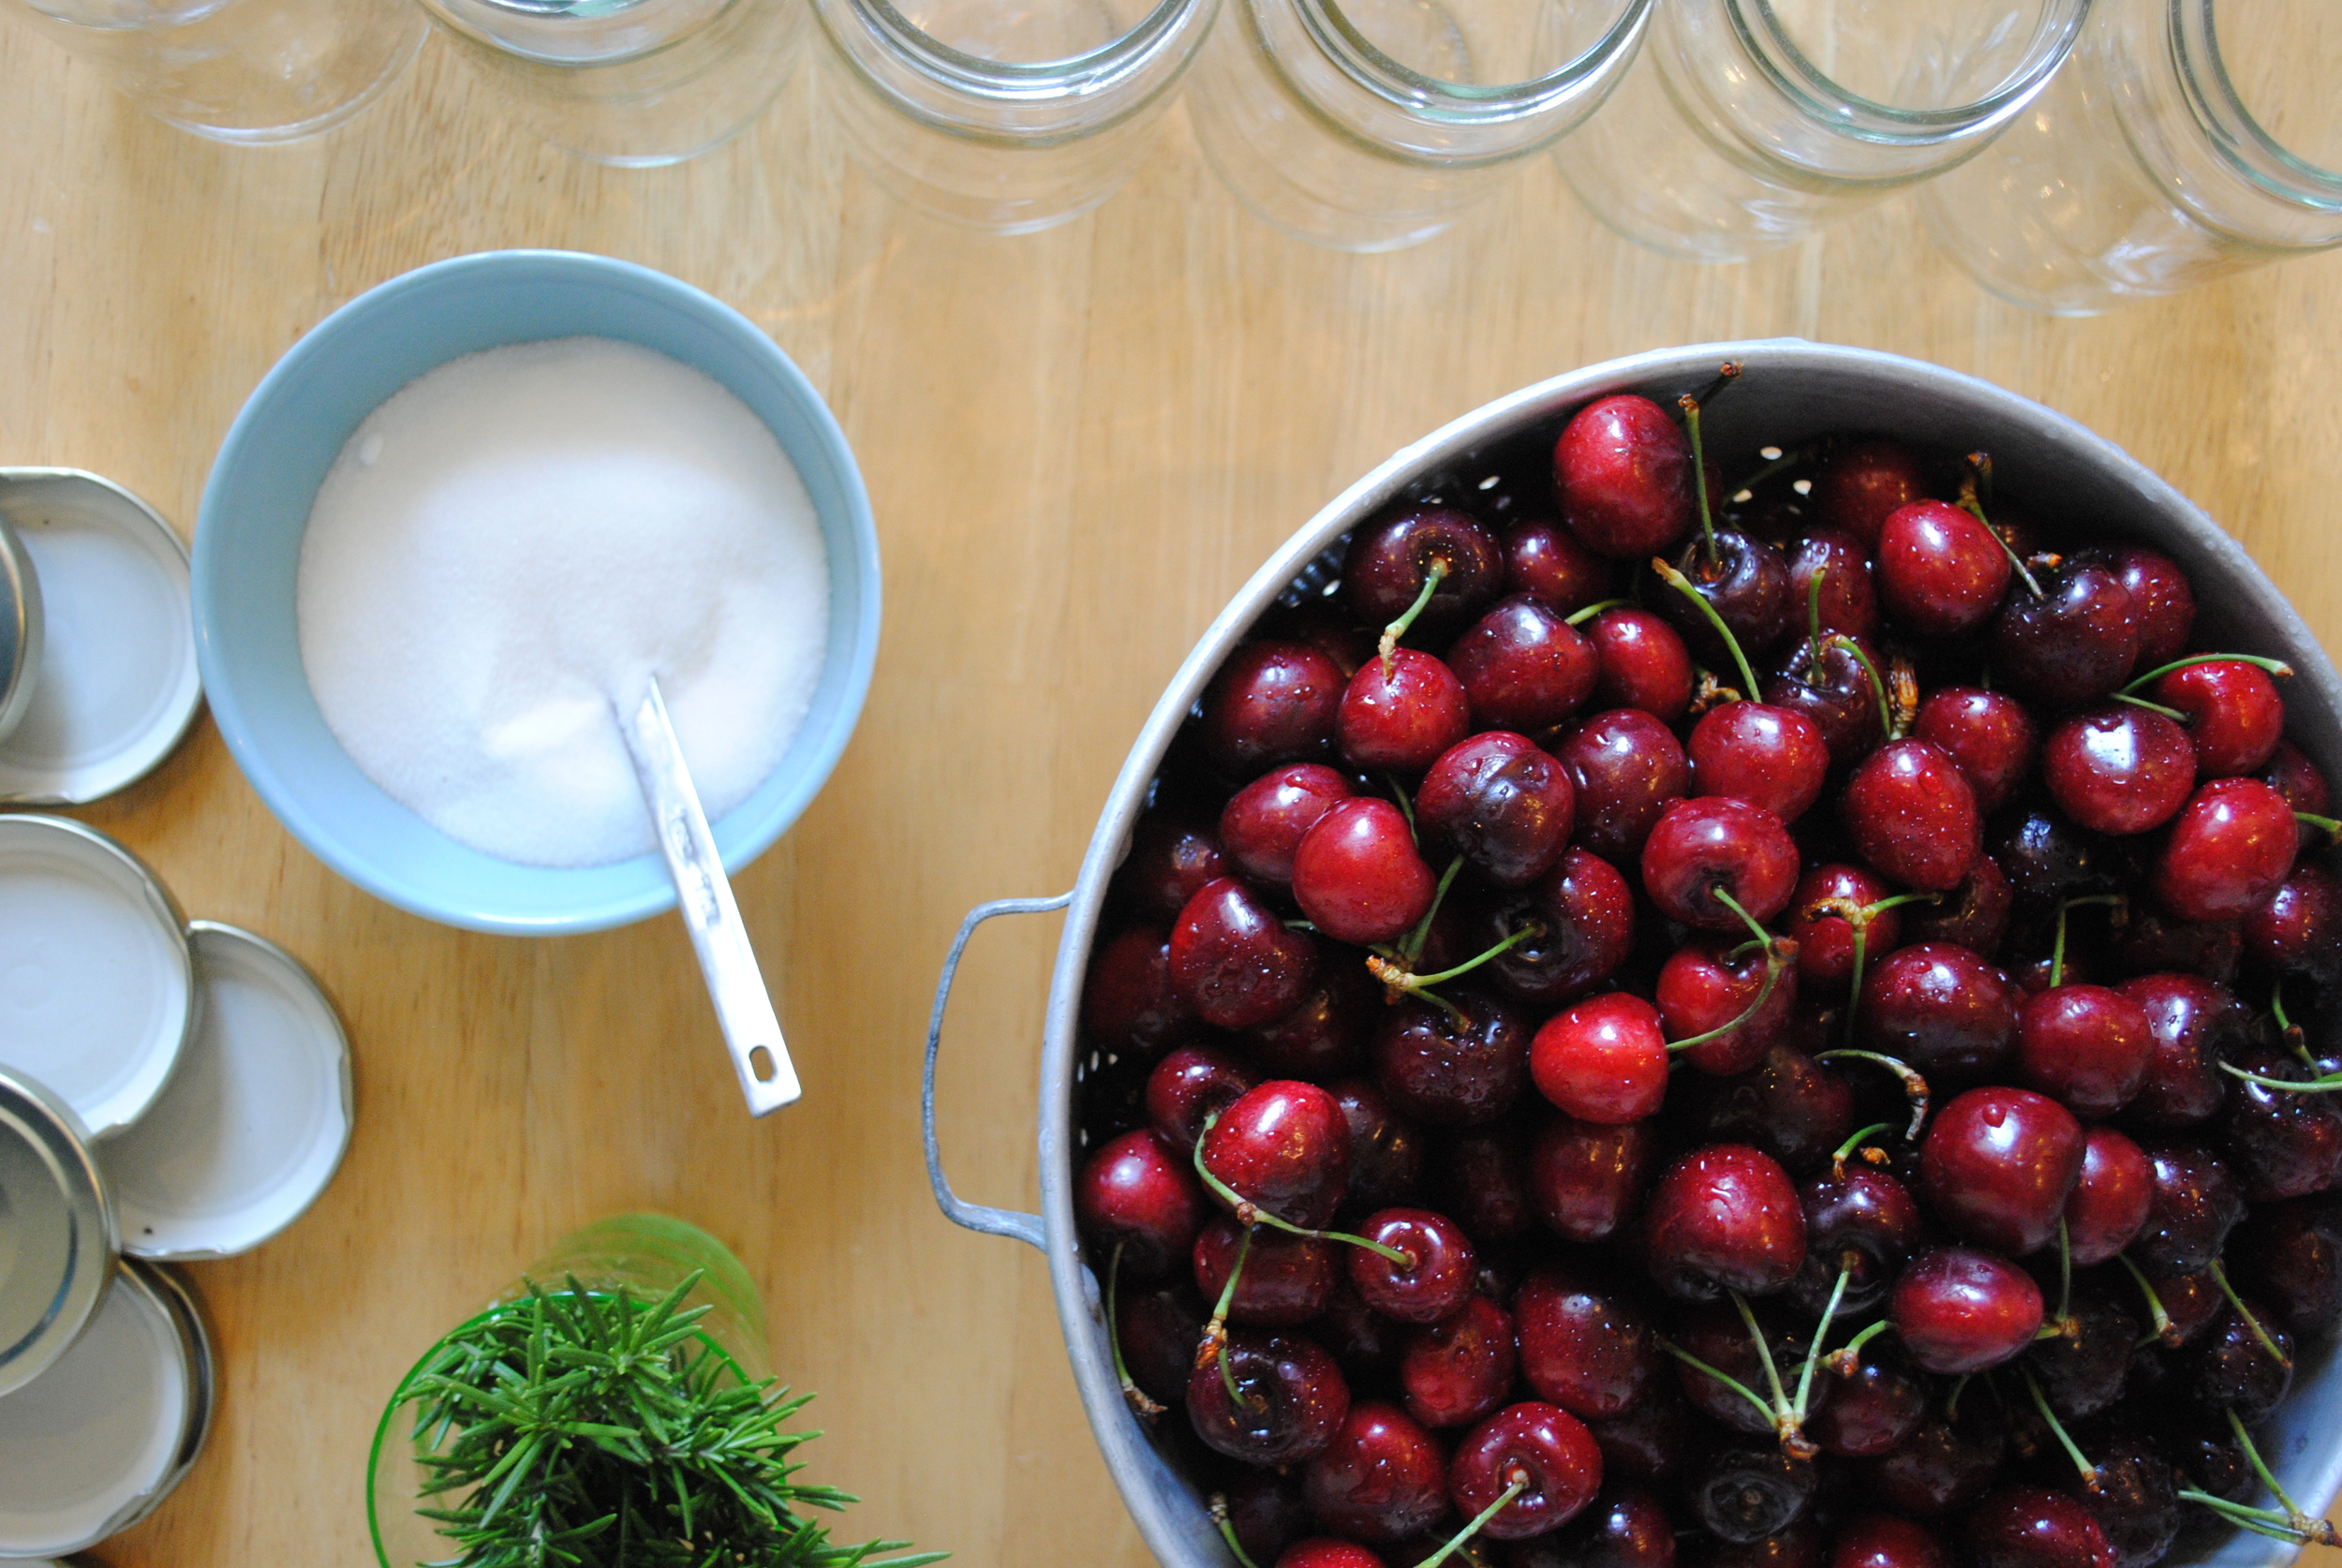
- 6# firm sweet cherries, washed
- 4 cups red wine vinegar
- 8 cups water
- 12 tablespoons sugar
- 12 teaspoons kosher salt
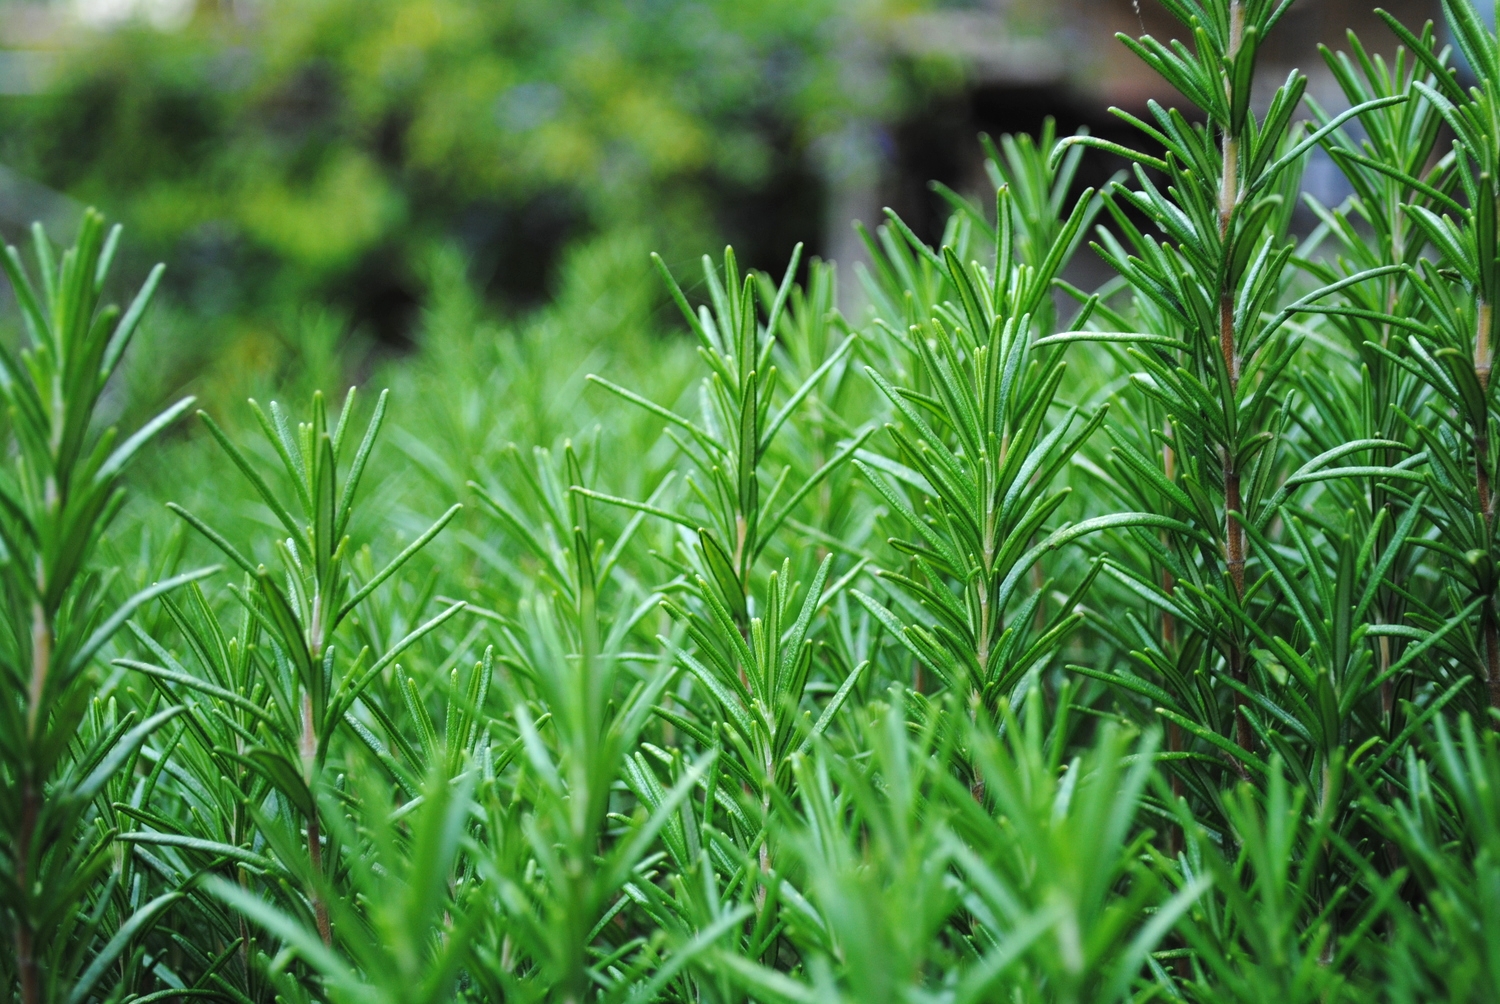
- 12 2 inch sprigs of rosemary
- one large stock pot for canning
- twelve 16 oz canning jars with lids
- canning tongs for removing jars
- one large pot for heating canning liquid
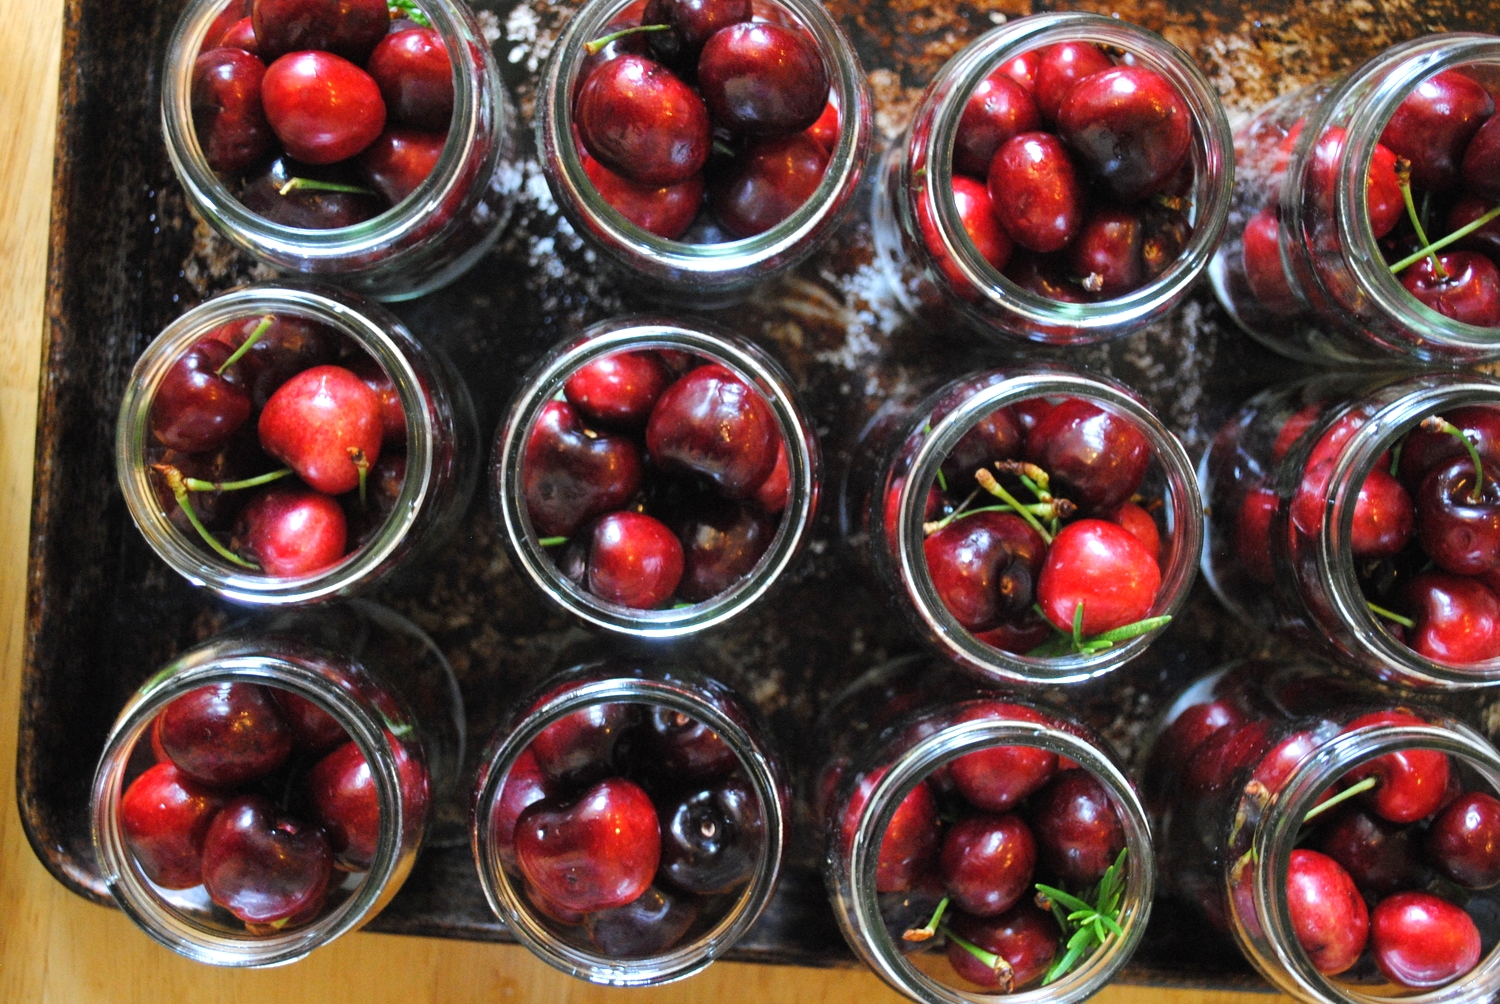
Heat jars in oven at 250 degrees for 20 minutes on a sheet tray and jar lids in boiling water for 20 minutes. Heat water and vinegar together until just below boiling. Add one tablespoon of sugar and one teaspoon of salt to each jar. Pack jars with cherries and rosemary, leaving the rosemary visible on the side of the jar. Pour over hot vinegar mixture into each jar covering the cherries, but leaving enough headspace for the canning process. Seal jars tightly. Process in batches for four minutes. Remove jars and place in a temperate non-drafty spot to cool. Wait for the reassuring pop to confirm that your jars have sealed. Keep for one year.


